Ask and you shall receive…
This post has been a long time coming and I want to apologize for making you wait! I’ve started receiving more and more questions over the last few months about how I shoot my flatlays so I guess it’s time to share my top flatlay tips! There are a few key factors that I believe go into mashing up the perfect flatlay so I’ll run through those in the exact order I see the them to be fit.
#1 LIGHTING
Ask yourself:
– What time of day is it?
– What does the light look like – harsh or soft, warm or cool?
– What direction is it coming in from?
– What kind of mood fits best with the flatlay you’re trying to create?
– Are you using artificial light?
Note:
– Hard noon light creates moody contrast
– Late afternoon exudes warm & dreamy light
– Soft filtered light that you get in the early mornings or evenings give you very even and easy to use light.
– Artificial light gives you a lot more flexibility for when you’re shooting, but doesn’t have the same appeal as natural light.
I highly suggest you study the lighting in your house at different times of day and in various conditions. This will help you determine what, when, and how often to shoot your flatlays.
Here’s a case study:
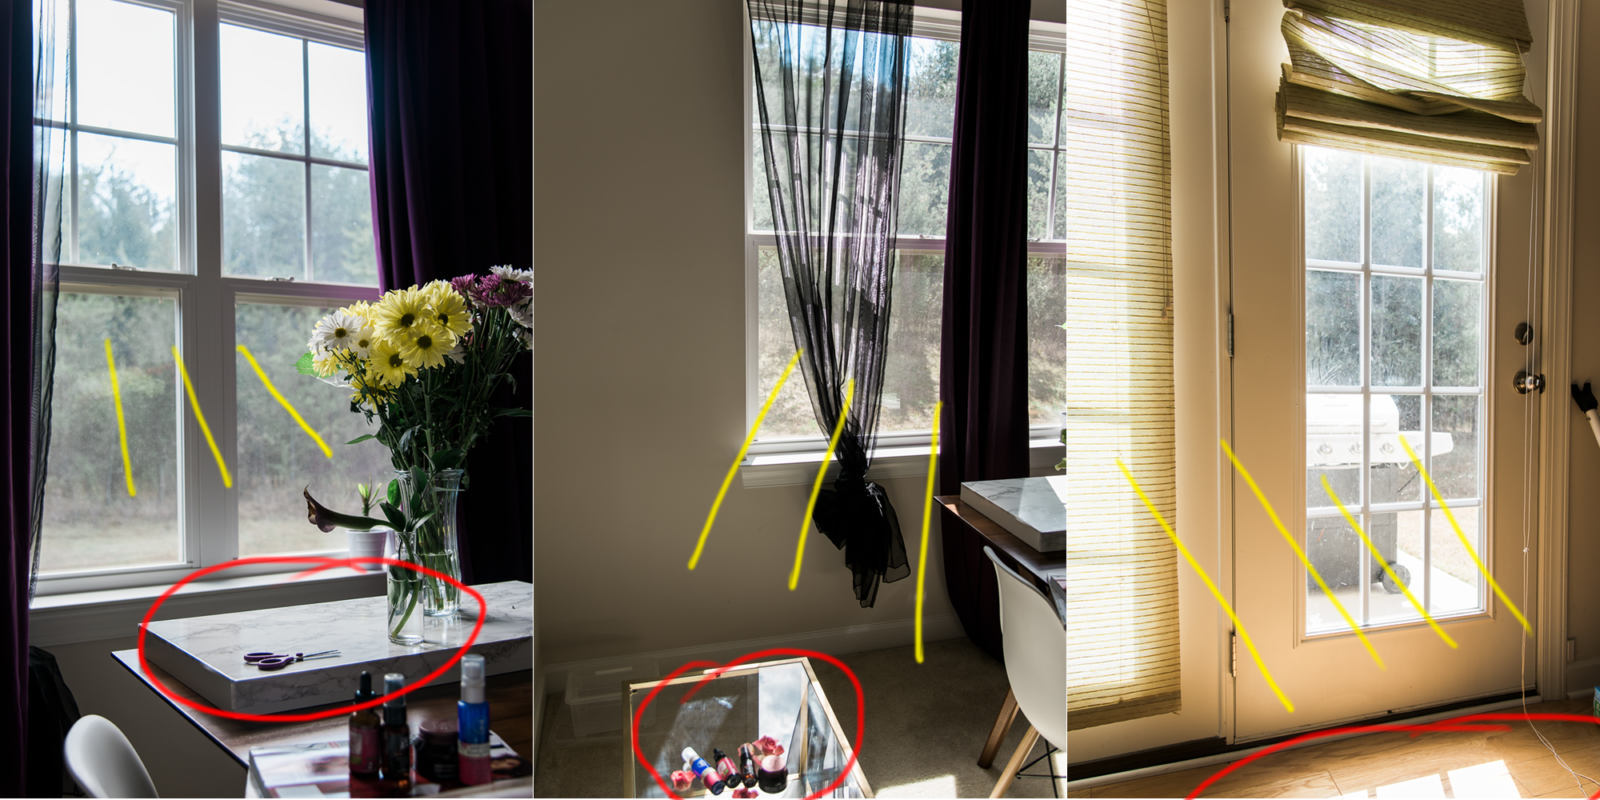
Image Left – It was an overcast day so there wasn’t a ton of sunlight. If I wanted cool, even light, this is where I’d shoot. The window gives me plenty of natural light to work with and hits the surface perfectly.
Image Center – You can tell that there is strong directional lighting coming in through the window here. I purposely placed my coffee table next to my dining table to ensure the light would hit the surface hard. There are quite a bit of shadows that could surely be pronounced in post processing.
Image Right – These french doors are right in my kitchen. You can see how warm the light is. The golden wood floors reflect light back up creating super yellow ambient lighting. This spot might be perfect if I was shooting a summer beauty flatlay or something with a beach theme.
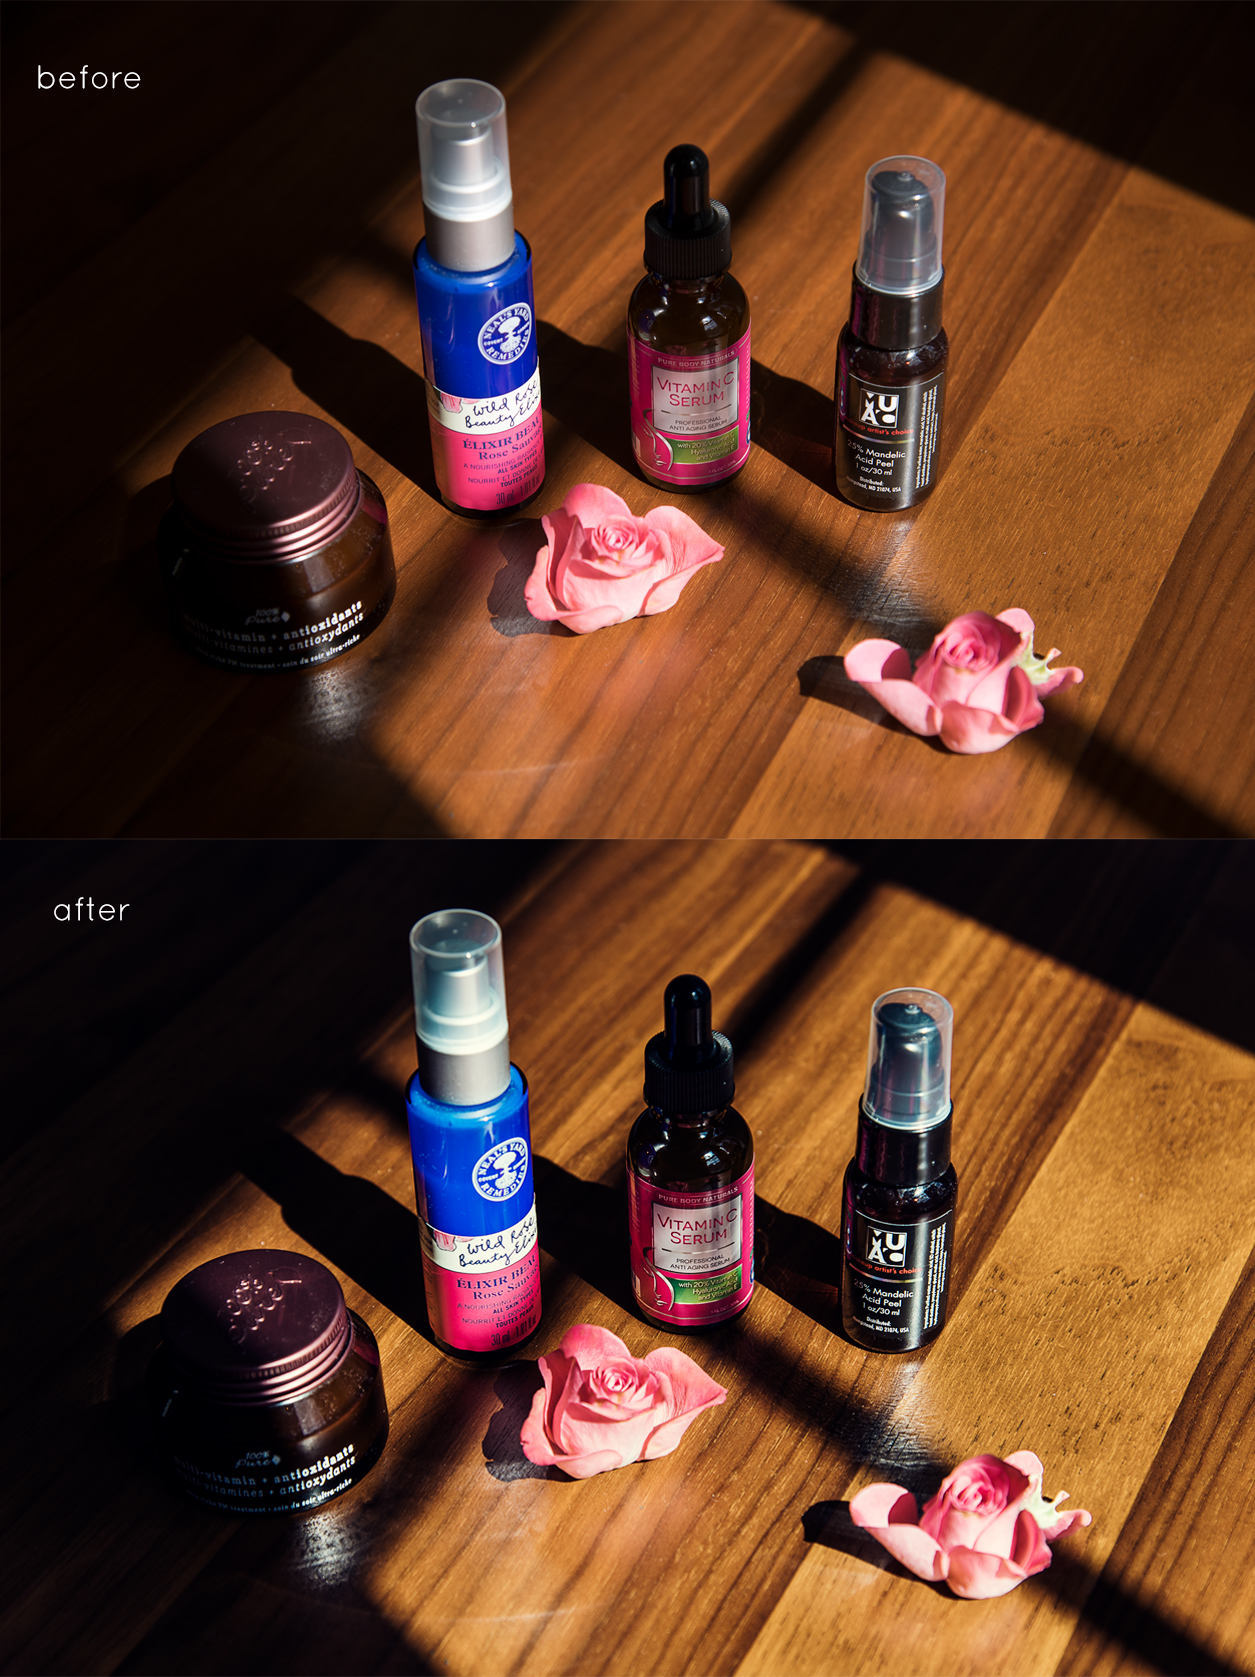
This image was shot on my dining table during lunch. Notice how the light is really hard and bright? The brown table now looks yellow and makes the entire shot feel really warm.
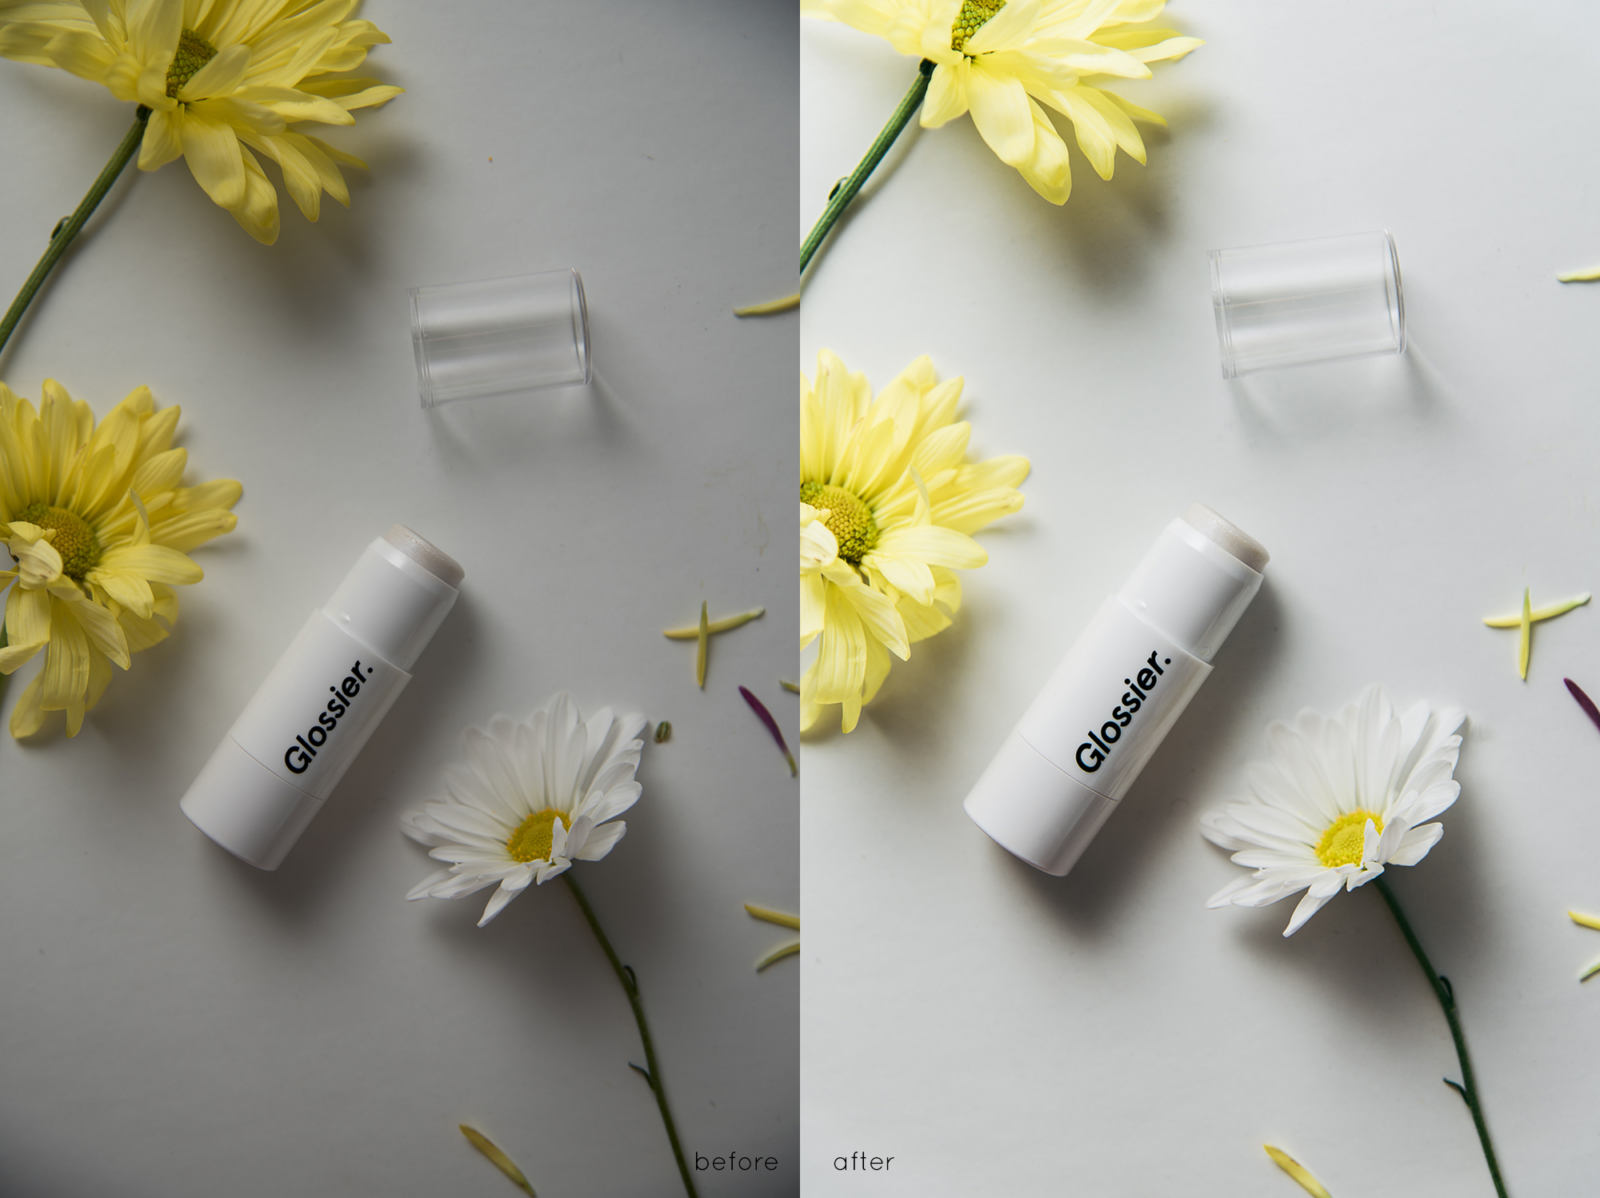
This image was shot in my office (see setting in the third image below). The light is super soft but the white surface and light walls helped me achieve a “softbox” effect in post process. (Note: I used a speedlight to bounce light off the wall to the left so ever subtly.)
SURFACE
Light and location go hand in hand, but you should also take note of the surface you’re shooting on and what’s around you. It can really impact the light. For instance, natural stone (like white marble), glass surfaces or vases, or white walls all reflect light, but in very different ways. As noted in the photo of my french doors above, you can see how yellow everything looks as a result of the floor and shades.
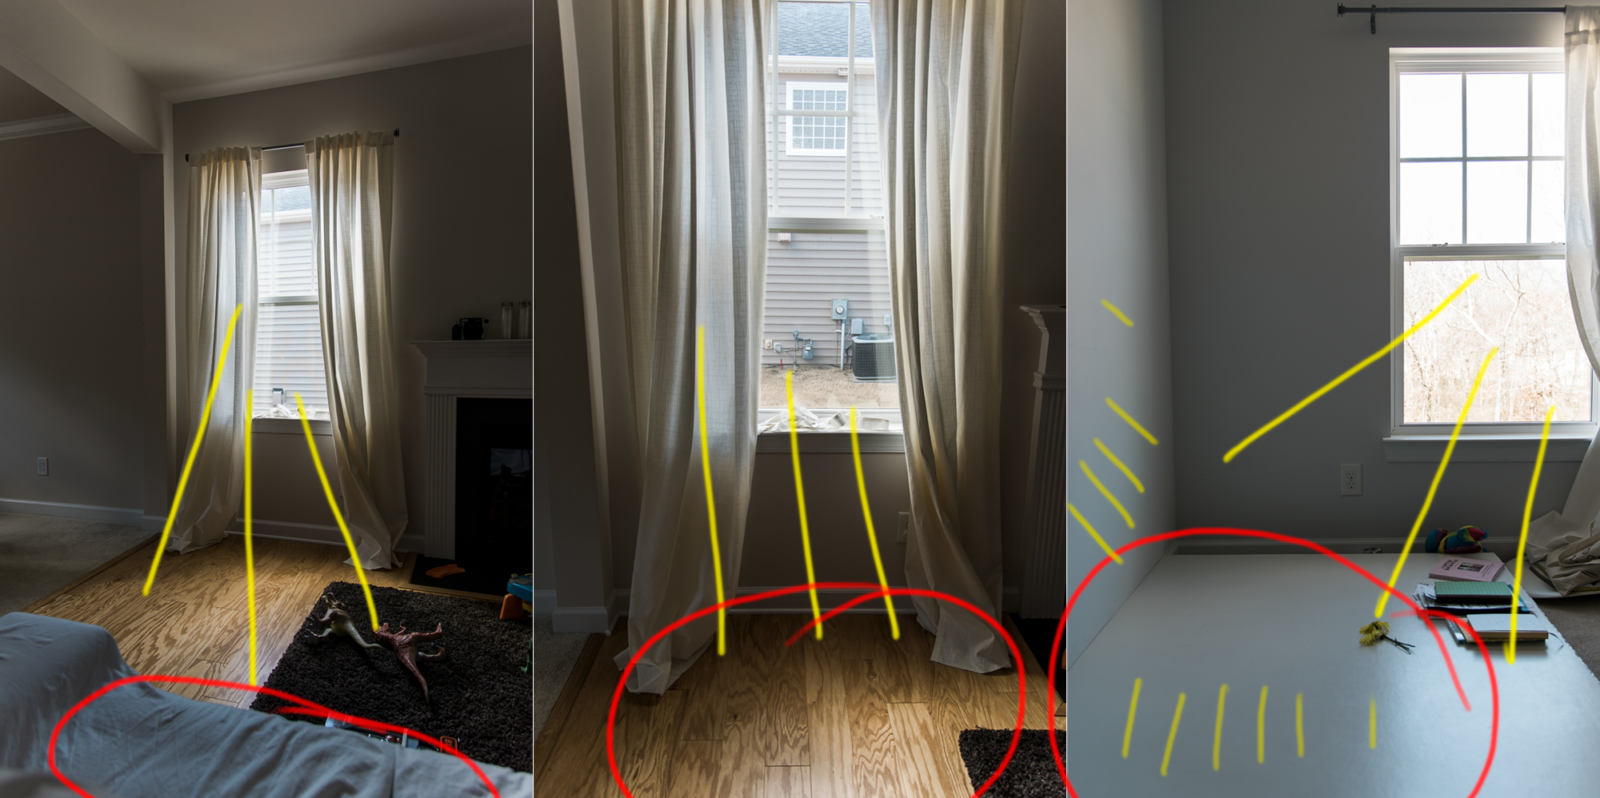
Image Left – This window is positioned in front of my white couch, which is covered in white sheets. In the late afternoon, the light hits the couch. With the white cloth, my images will often end up with stark blacks and super white whites (see image below & don’t mind the dinosaurs.)
Image Center – I’ll sometimes shoot directly in front of this window on the floor if I want even lighting – all I do is lay down a white poster board. I will need plenty of light coming through though because there aren’t any white surfaces for me to bounce light.
Image Right – This takes place in my little office/studio. My dad built me this platform two years ago and I covered it with a heavy duty white board that has a white sheen. My walls are a cool gray. When shooting, I know that I’ll get plenty of bounce, which is perfect for when I want soft dreamy effect. I’ll never get that bright afternoon light in here though. (See Glossier image above.)
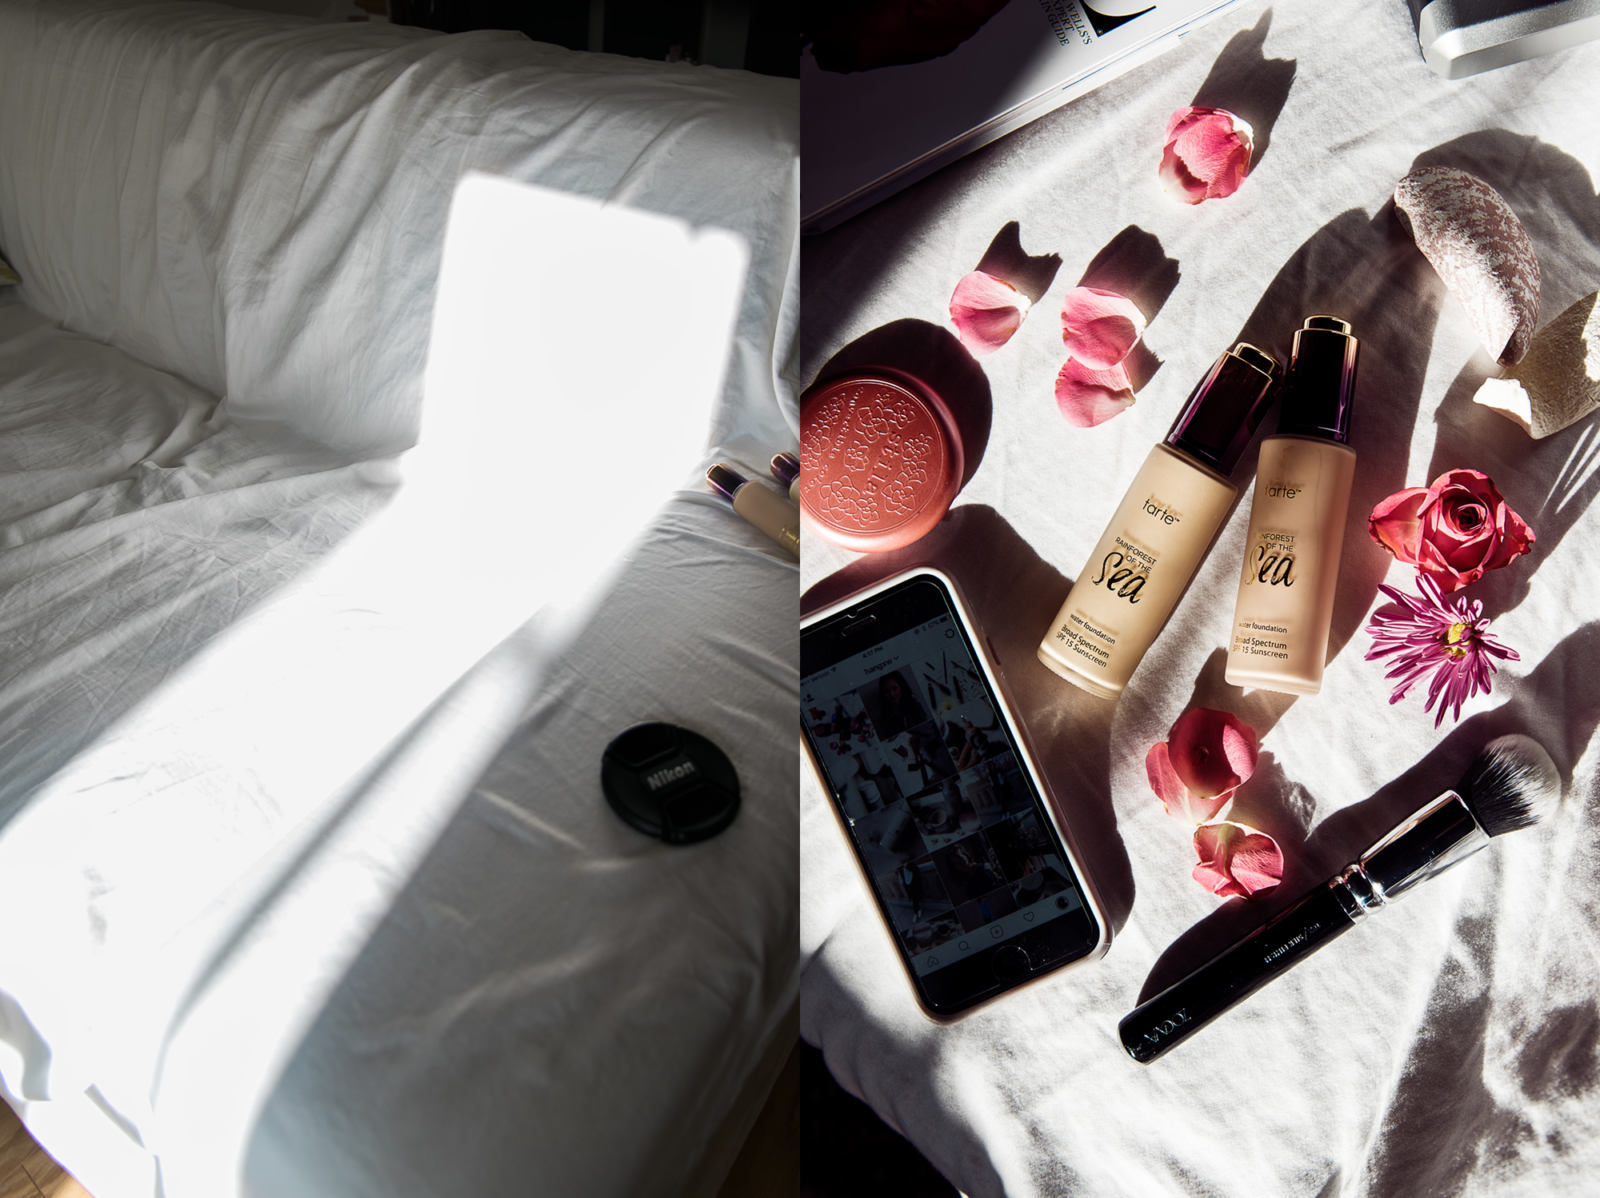
This is the example of shooting on my couch.
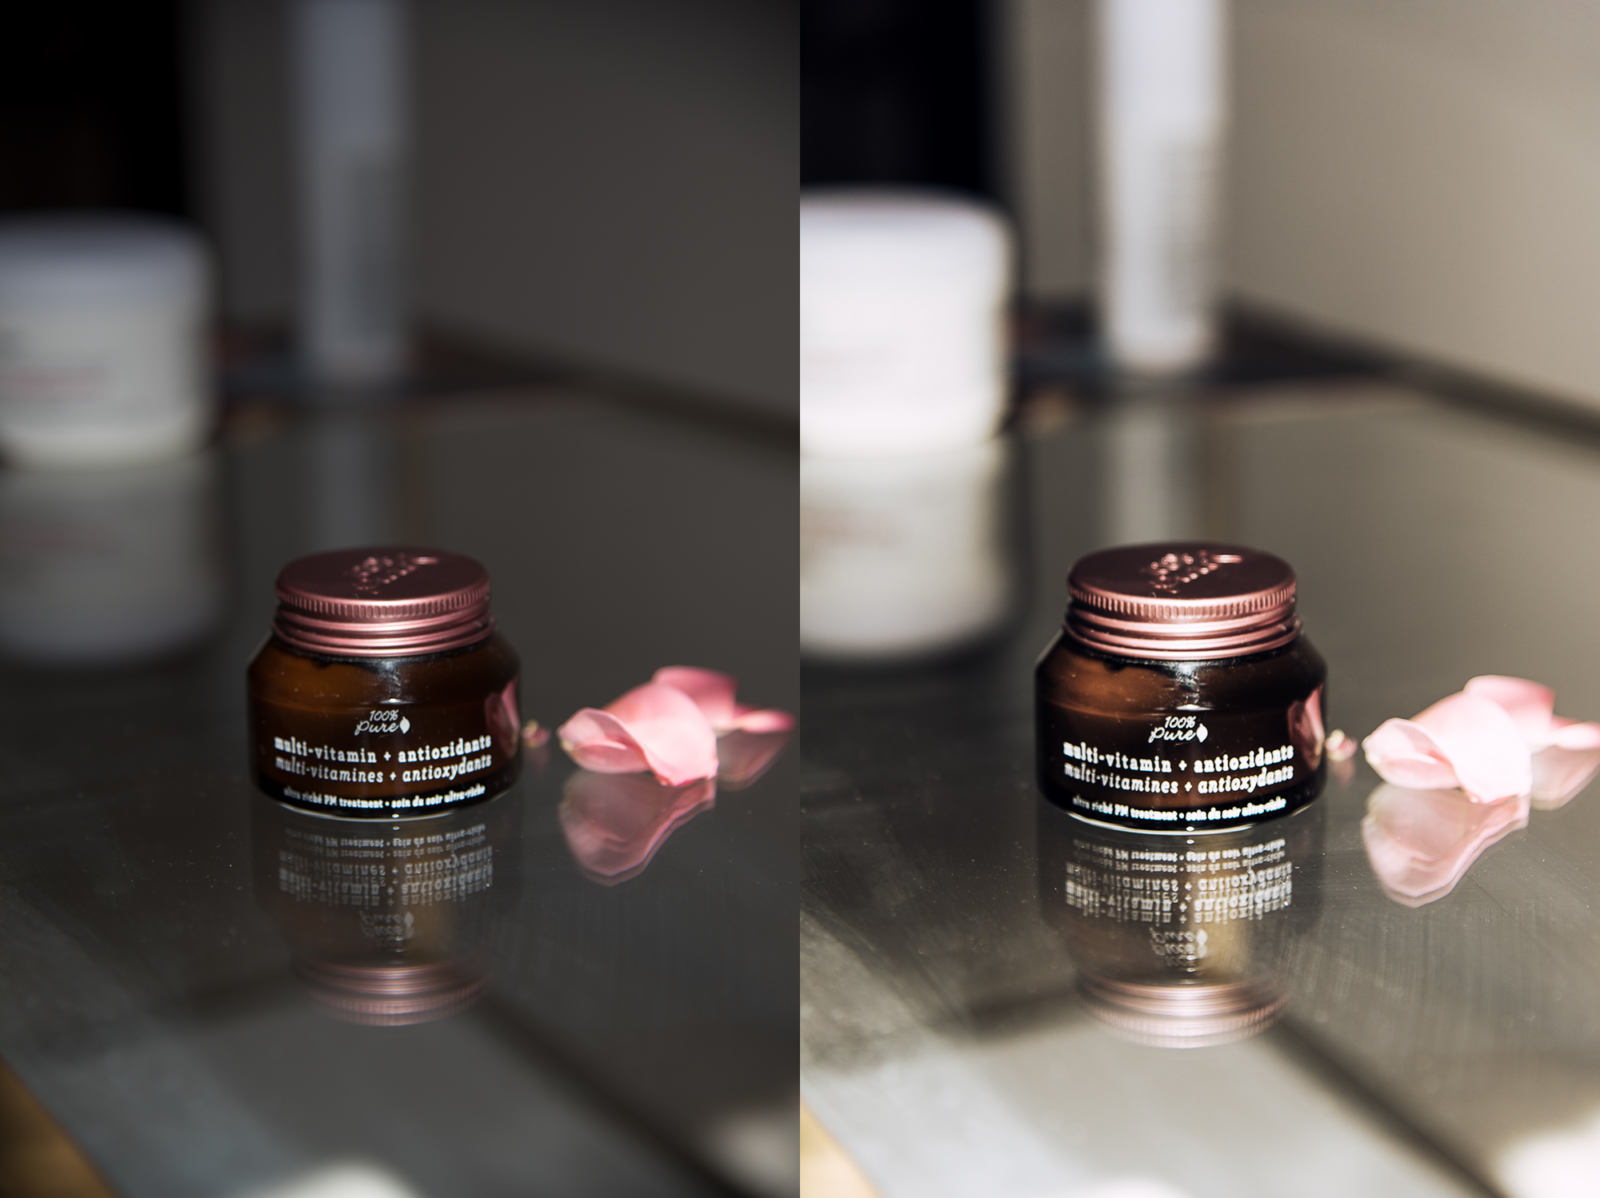
Here’s an example of what happens when I shoot on glass. There is a reflection, which I can enhance to get a nice effect in post-processing. This jar is also glass and reflects really nice highlights. Ultimately, I’m able to get something dreamy and fuzzy.
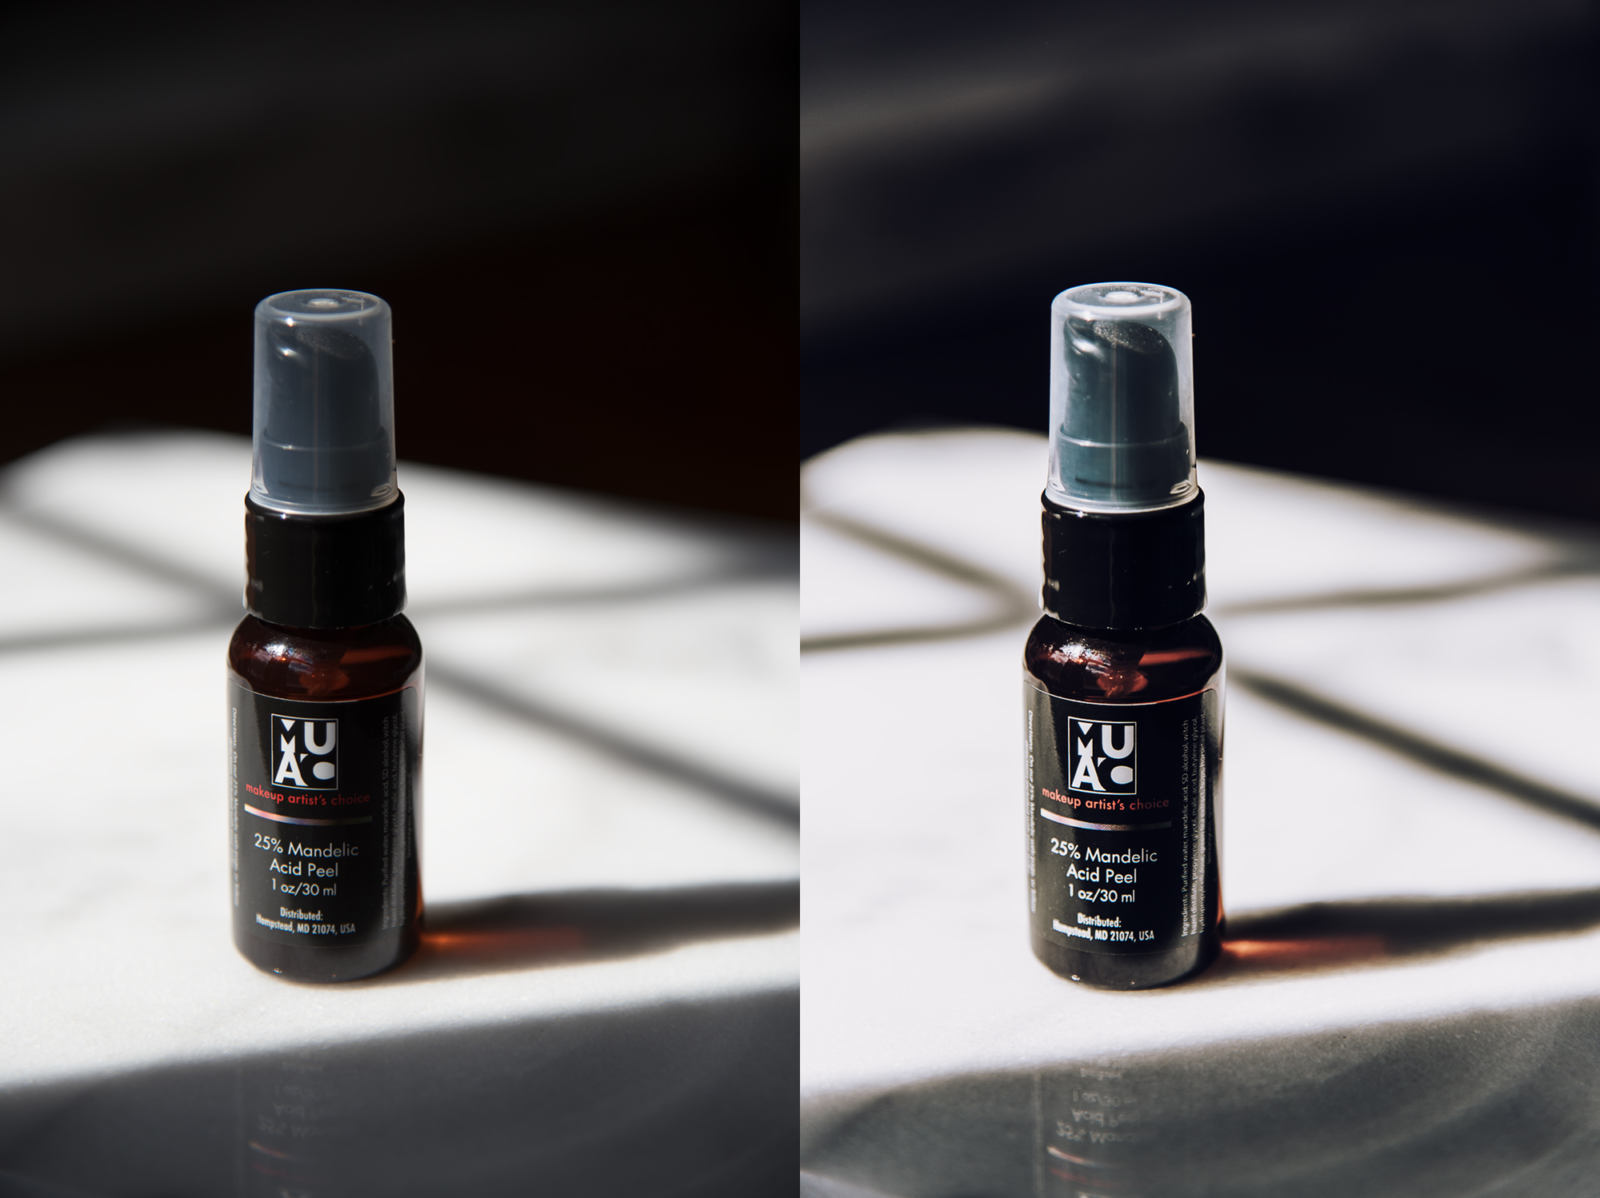
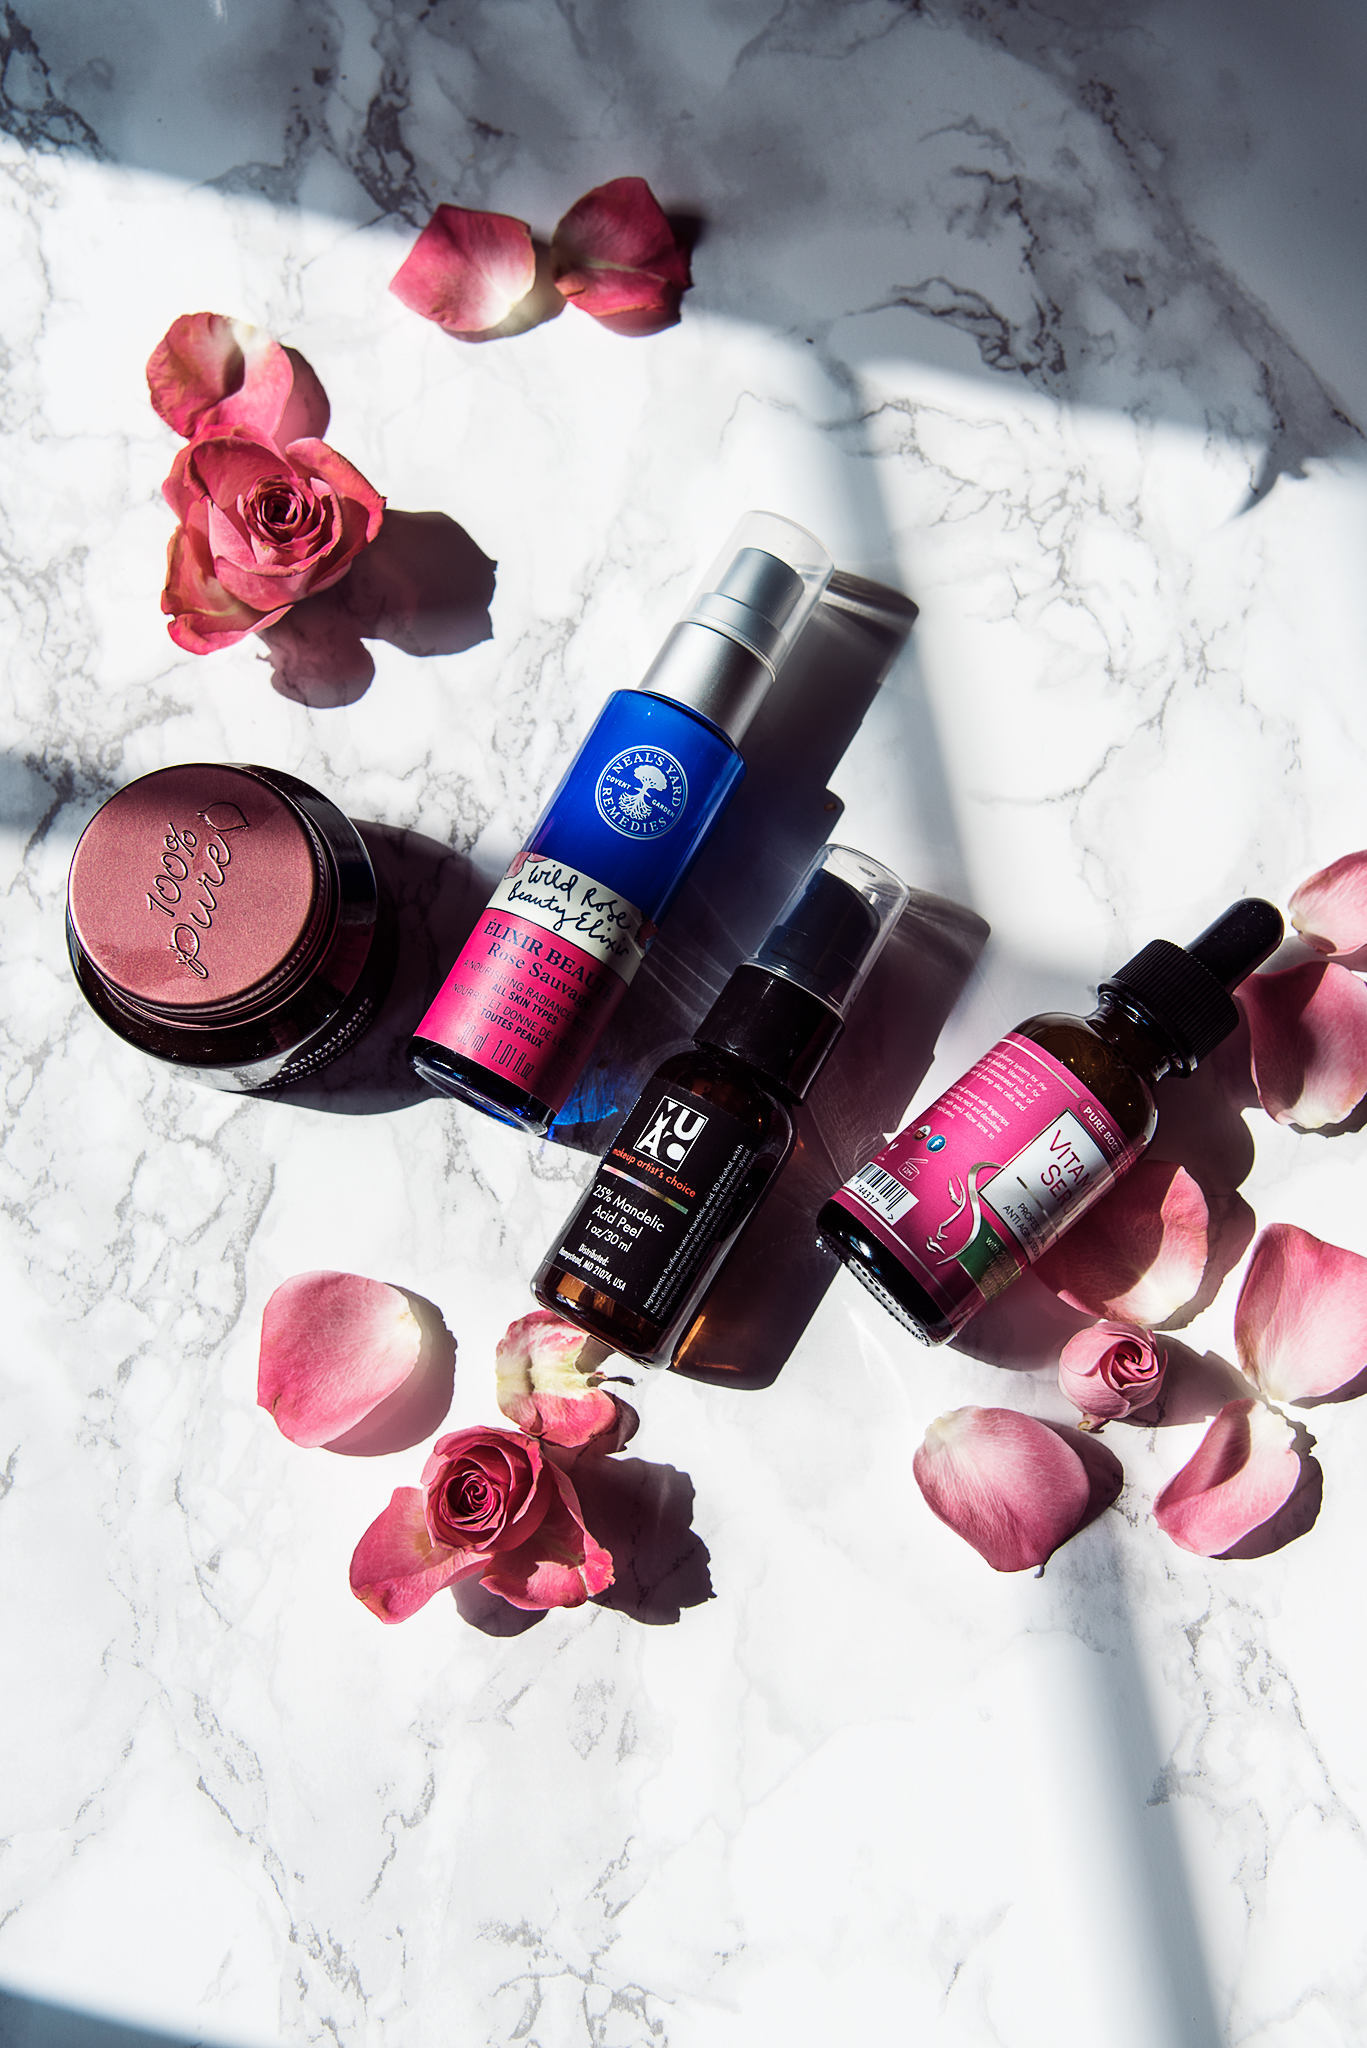
The very first image in this post was shot on marble adhesive; however, this product was shot on real marble. Take note off how much more reflective the light and product is on true natural stone.
PROPS
Whenever I’m shooting a flatlay, the first thing I focus on is the actual product(s). Ask yourself:
– How do I want these items arranged – standing up or laying down?
– How can I lay them out in the most natural way possible?
Then look through the viewfinder and adjust. Play with landscape and portrait shots and try several different arrangements. This part can take some time. Next, start adding in extras, but nothing that will take away from the products you’re featuring. I love flowers and petals, and I use them often. Makeup brushes, sunglasses, jars, jewelry, and candles are also great for beauty flatlays. The key is to personalize it and make it feel like a part of you.
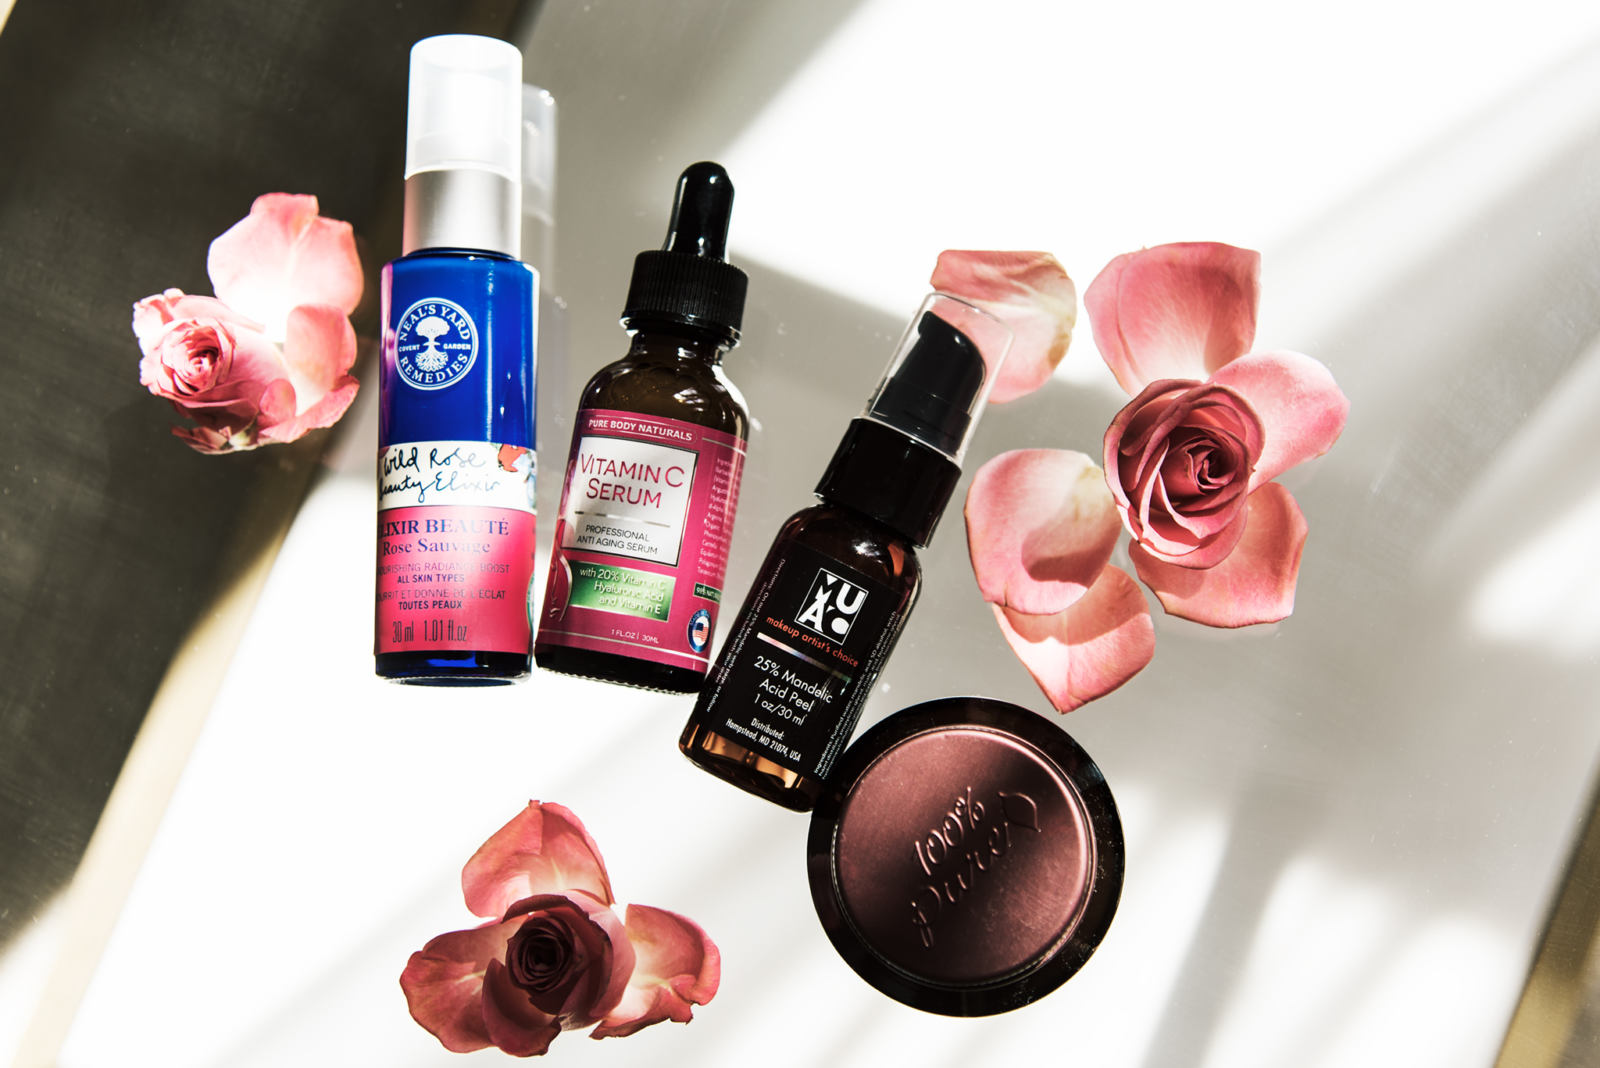
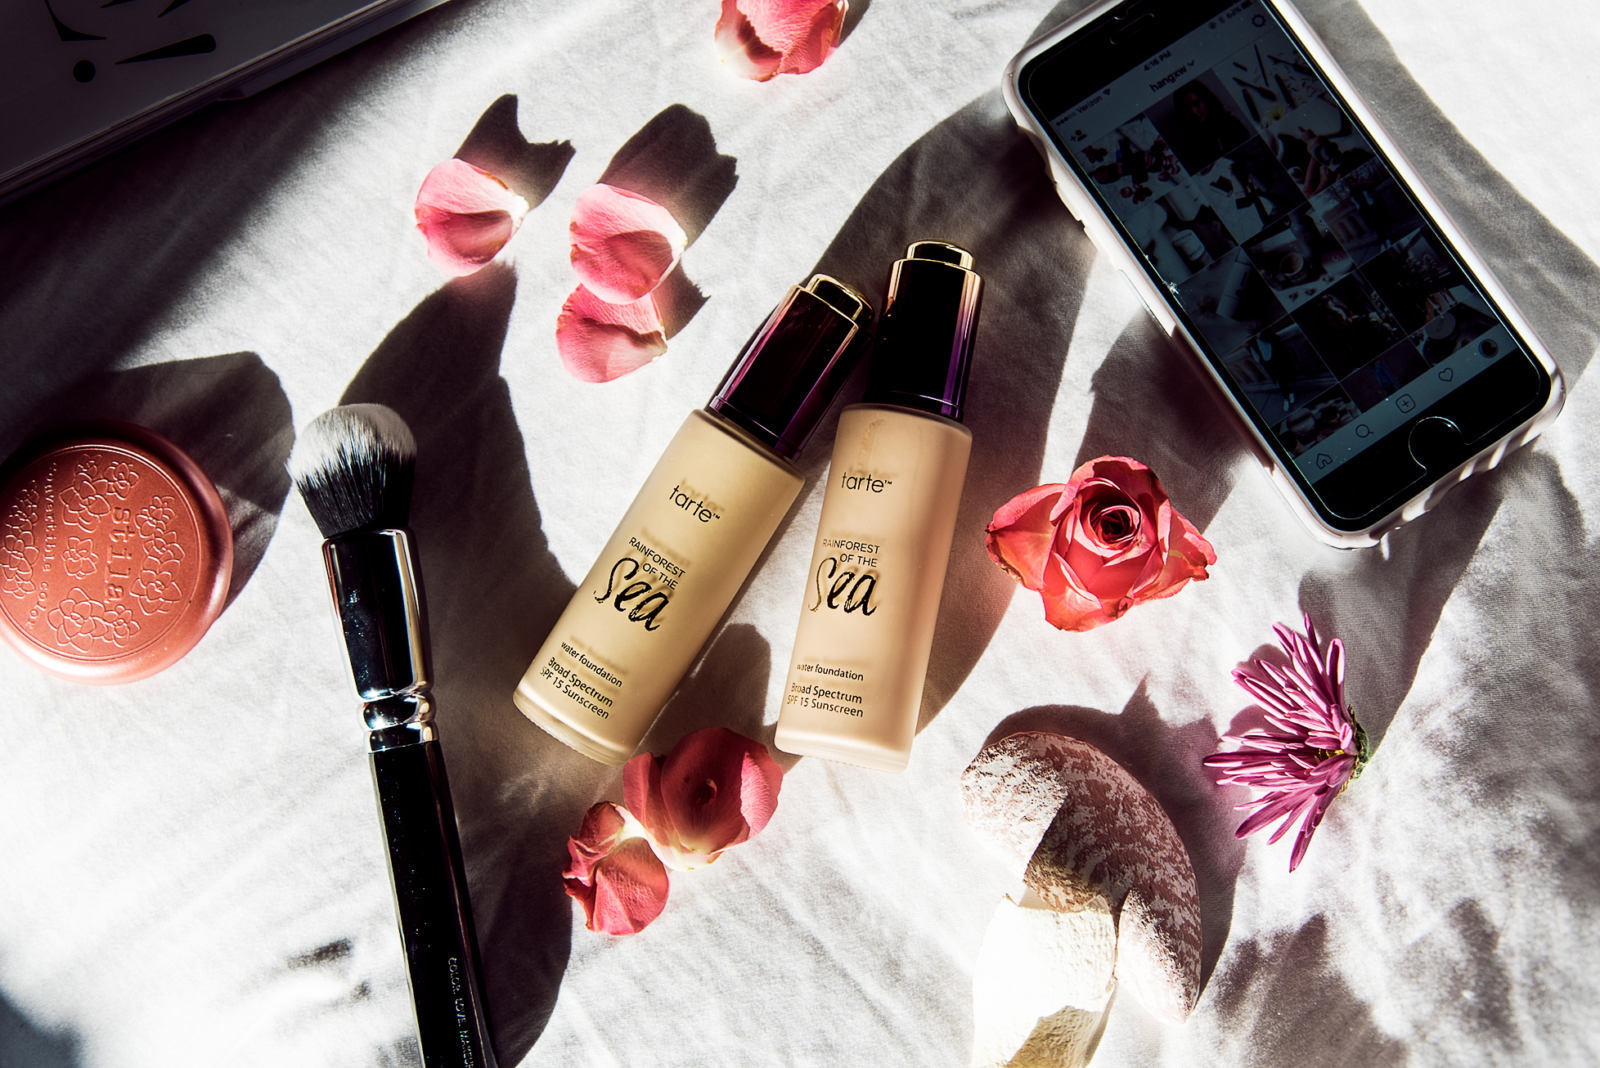
I kept it super simple here and just added flowers. But sometimes, I do make it more complex like in the Tarte foundation flatlay below – I threw in sea shells, my phone with my IG feed on, a magazine, other beauty products, and a brush…
Some people do pure product shots without adding props. I’ve tried that a few times and it’s not my preference nor does it suit my style. Lesson is don’t do something just because everyone else (or someone you like) is doing it… The key to being unique is making it true to your aesthetic. In order to find that, you have to experiment often!
EDITING
Finally, a flatlay is never complete without editing! My programs of choice are Adobe Lightroom & Photoshop. I seriously couldn’t live without these. For only $9.99/month, it’s totally worth it and better than Netflix. You can sign up here.
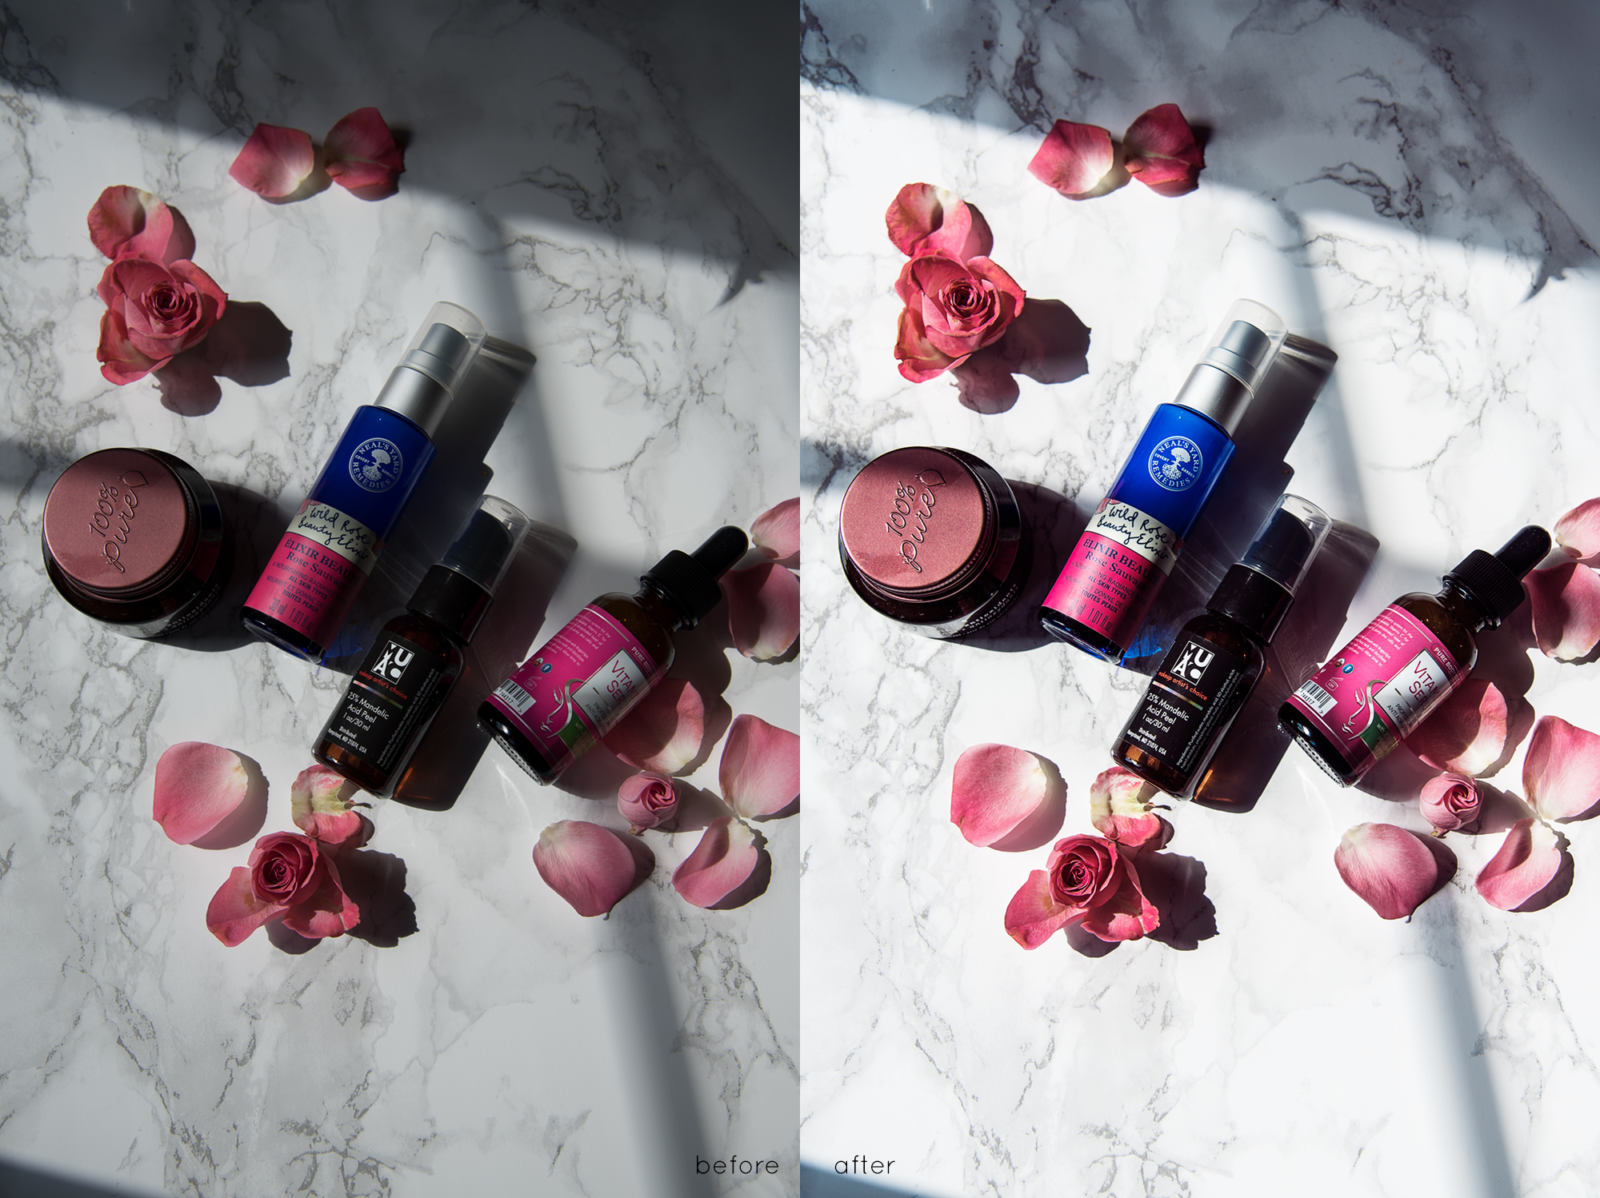
Some people rag on photographers who use Photoshop, but all I have to say is try it yourself… It’s a craft in itself.
Coming up next – how I edit my flatlays… Don’t forget to share your thoughts below, and if you have any other questions, ask away!!
