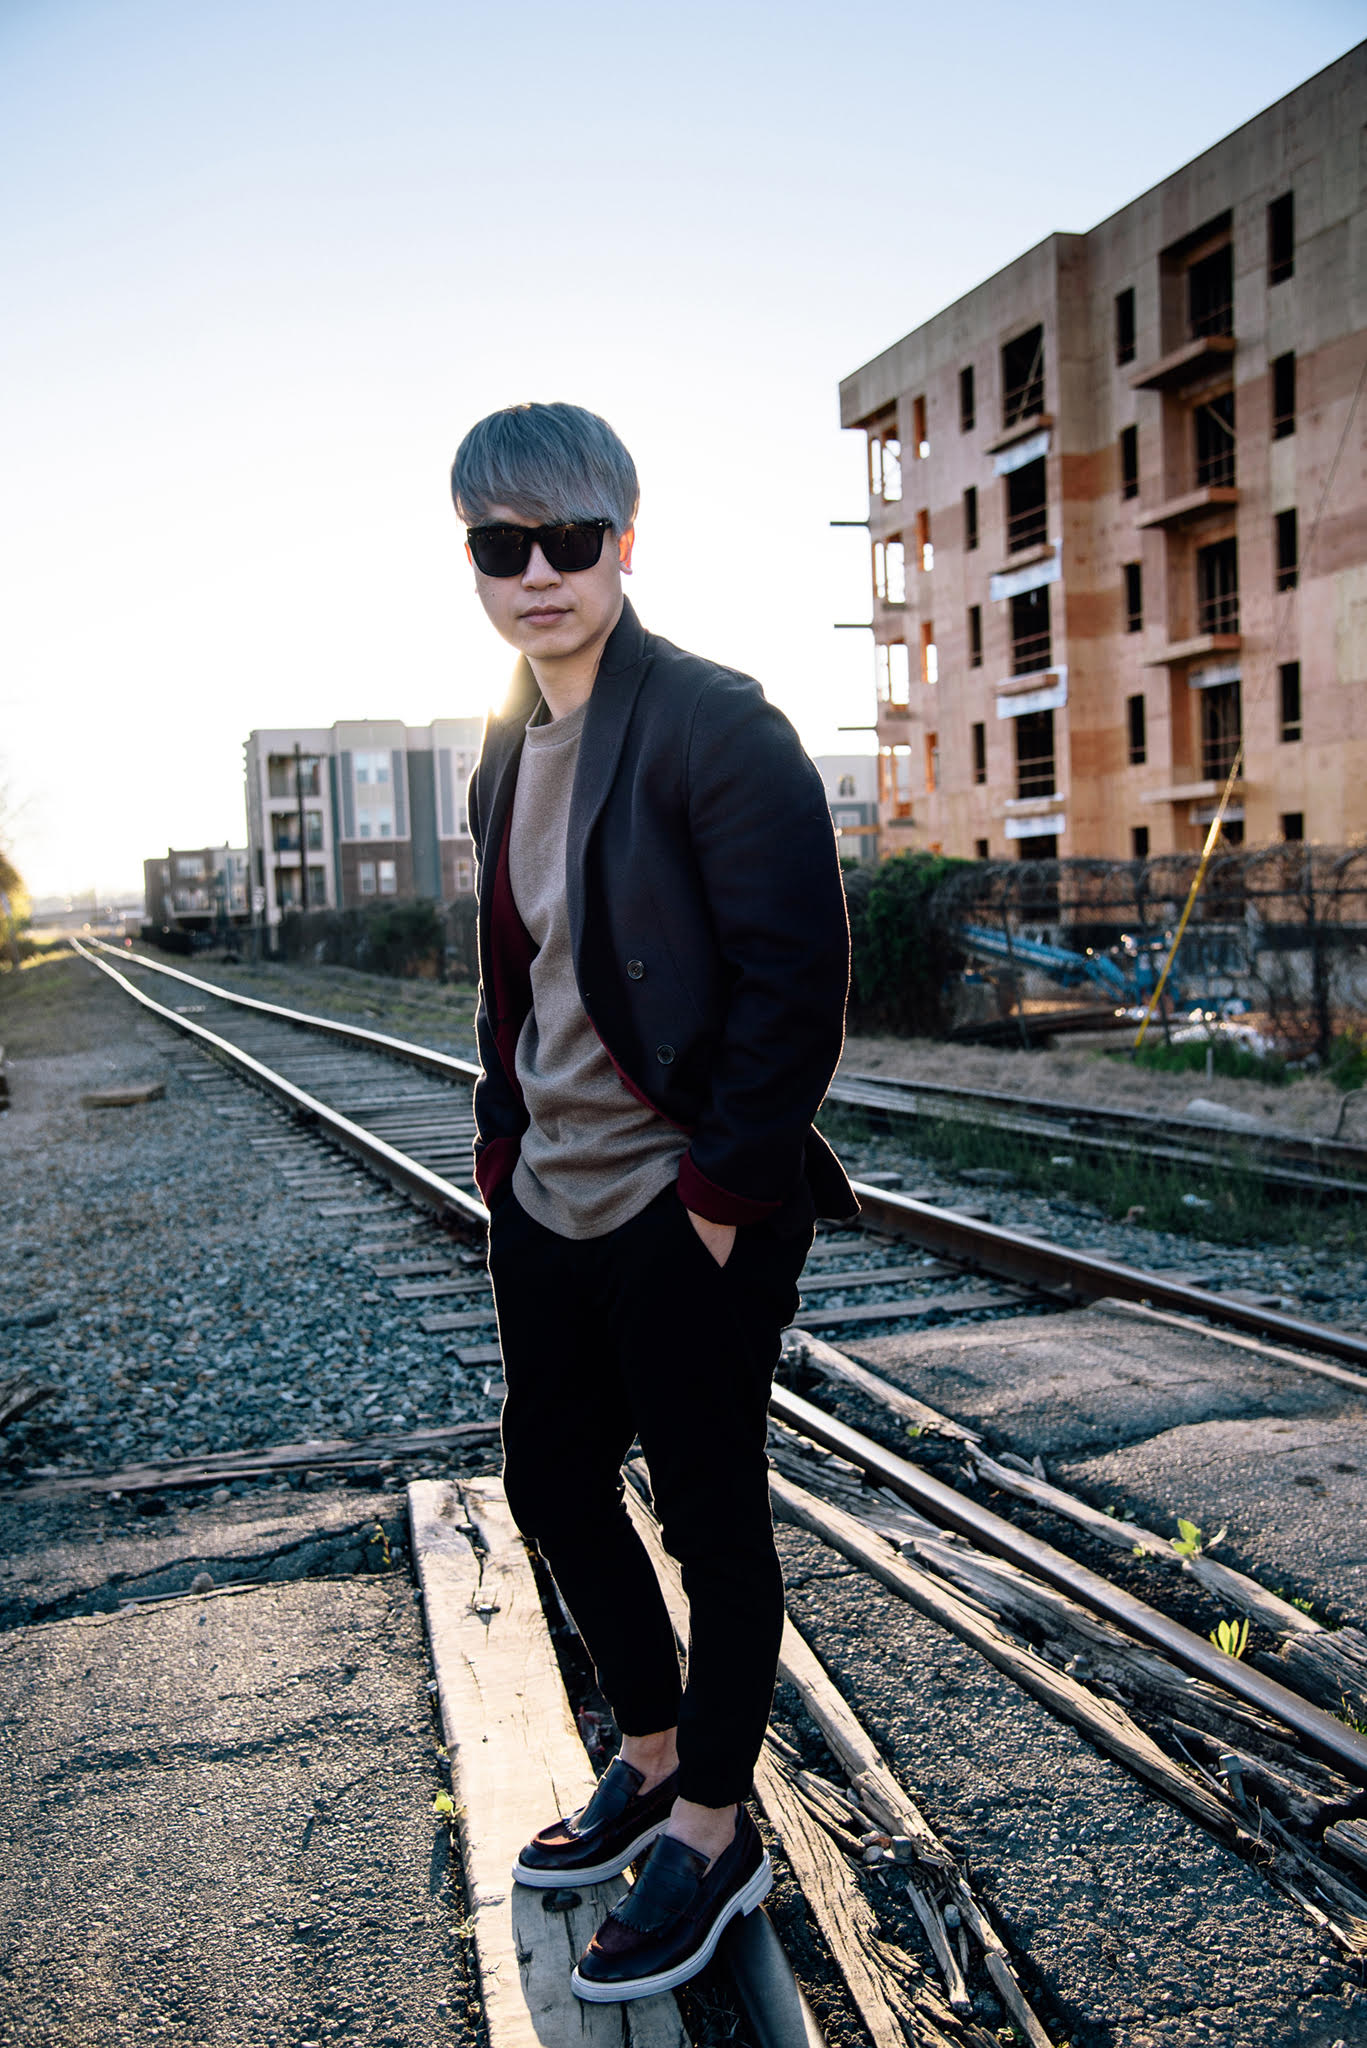
My love for photography grows more and more each day, and I think primarily because the more I shoot, the more confident I feel about my work.
Years ago, I’d never be able to achieve the same kind of images I shoot today… Although it’s embarrassing to admit that it took an insane amount of time compared to most people, none of that matters in the end. The only thing that matters is that I’m at a place that makes me feel good. I’ve really worked to learn the limitations of my camera (and settings), achieve eagle-eye attention when looking through the viewfinder, and build a great relationship with my tools.
Most amateur shooters have the misconception that portraits is all about letting people act naturally and capturing the moment. However, in reality, a lot of it is acting, directing, styling, and drawing out the best facial expression – all of which I feel is the hardest part of nailing beautiful portraits. It took lots of failed shoots for me to understand this notion. Of course I can only speak to my progress, so let’s go through a few pointers that helped me achieve these blogger style portraits…
Before we begin though, huge thanks to my friend Sean for being such a pleasant, cooperative, and fashionable model!
#1 STUDY
I’m a huge believer in learning subconsciously. Learning through osmosis. Learning through absorption. As a huge style enthusiast, my favorite kind of portraits are street style and environmental. I love blogs plastered with photos that exude a street style feel. I love the way clothes look when they’re moving and expressions that feel natural. That means I look at A LOT OF pictures! I’m on Pinterest every single day studying the shots, framing, lighting, and composition of images – I pull together “styles” that really speak to who I am and memorize them. Note that I’m not copying, but if I look enough, I’ll eventually be able to pull certain elements into my own work.
#2 MOVE
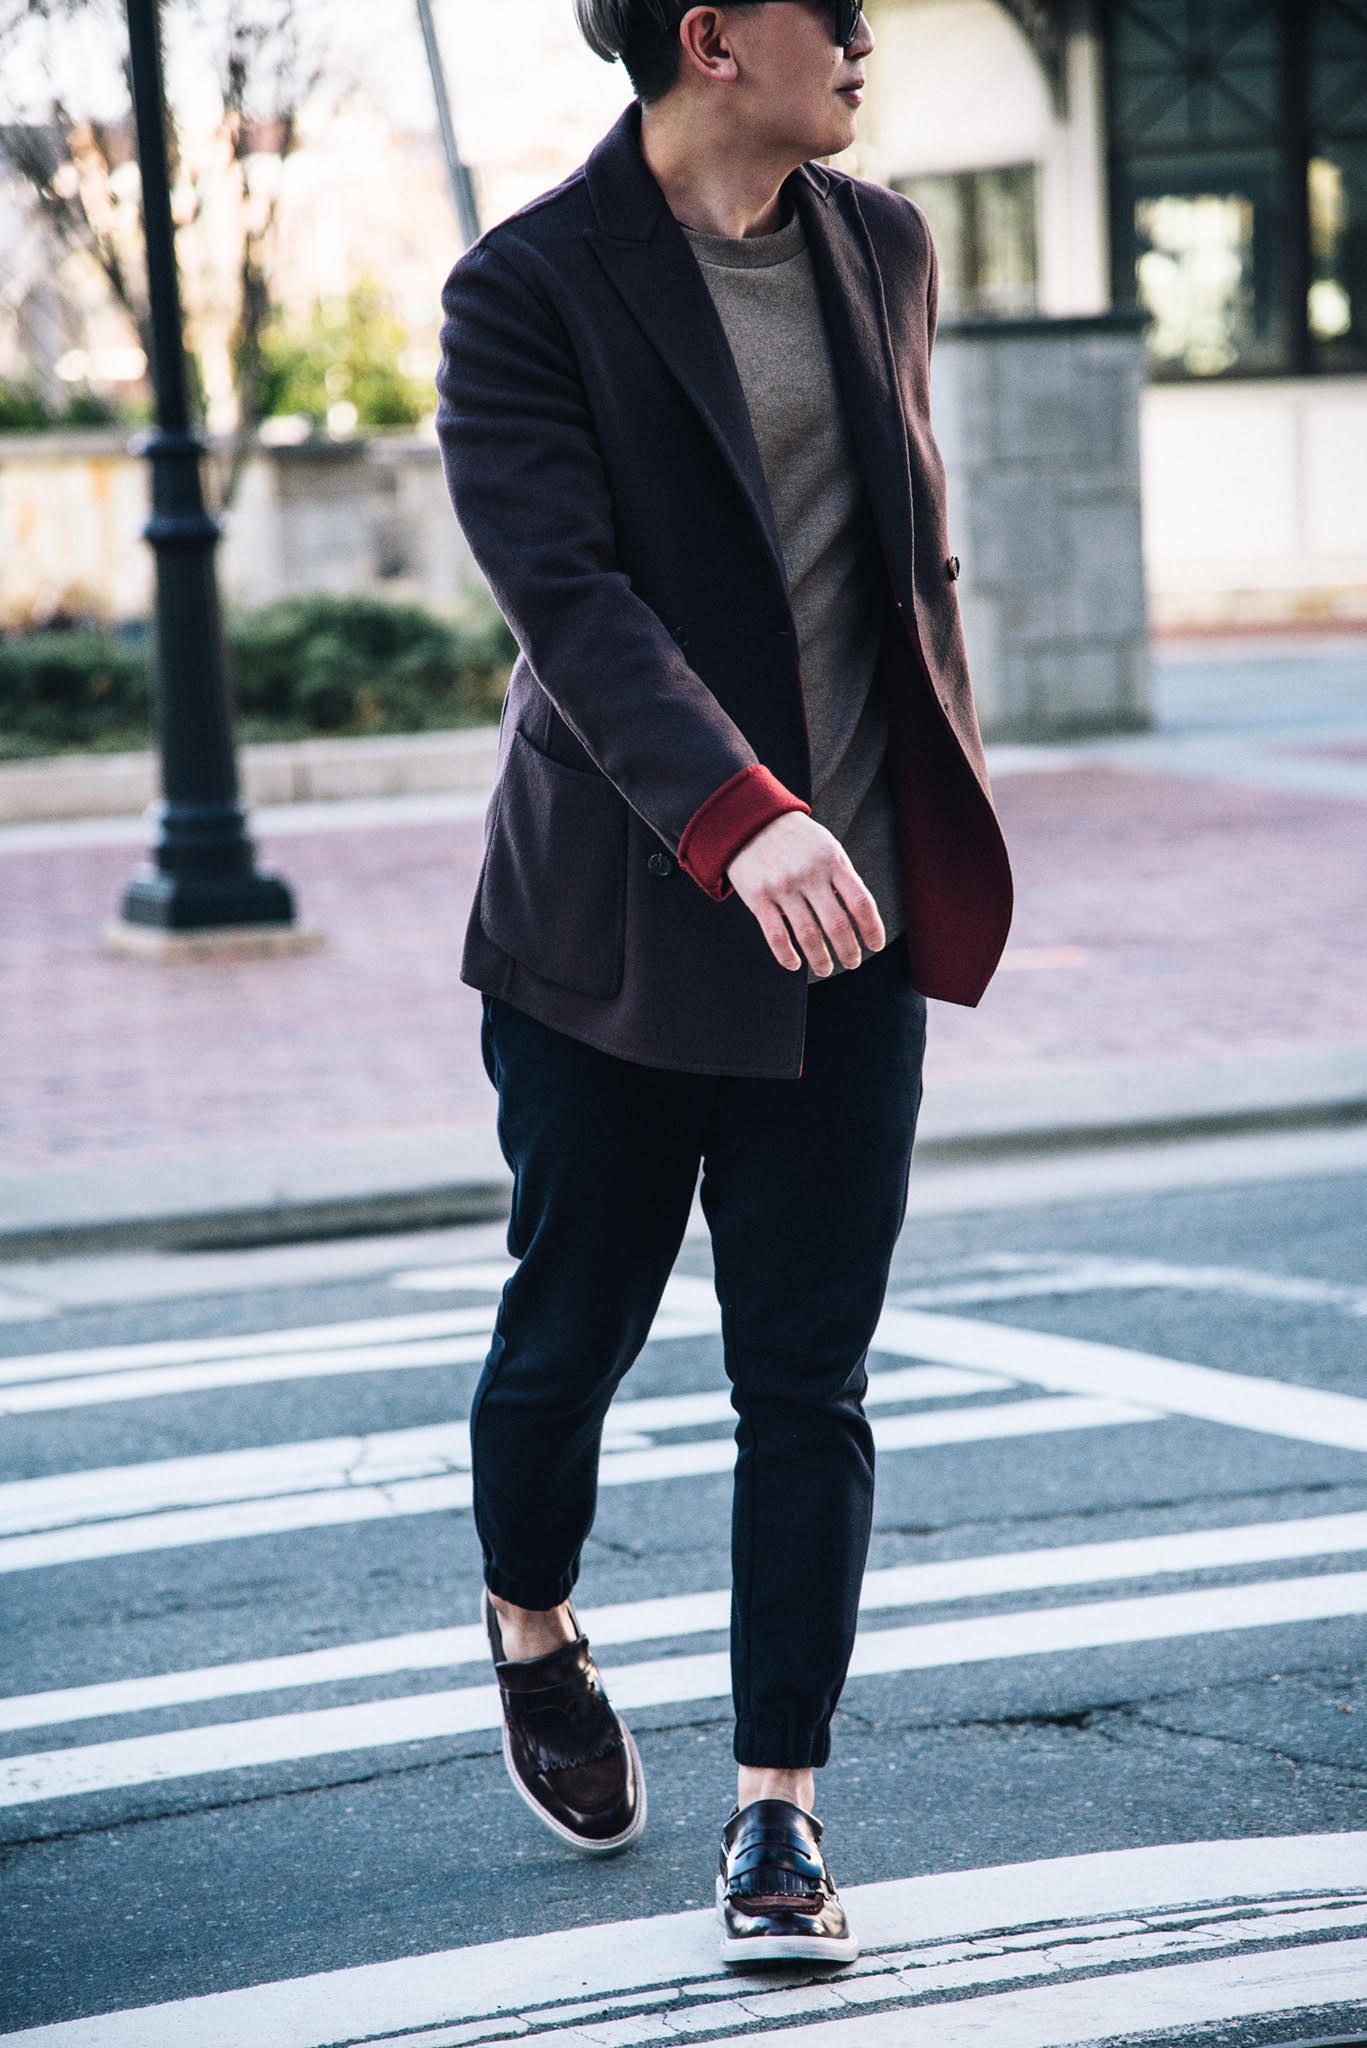
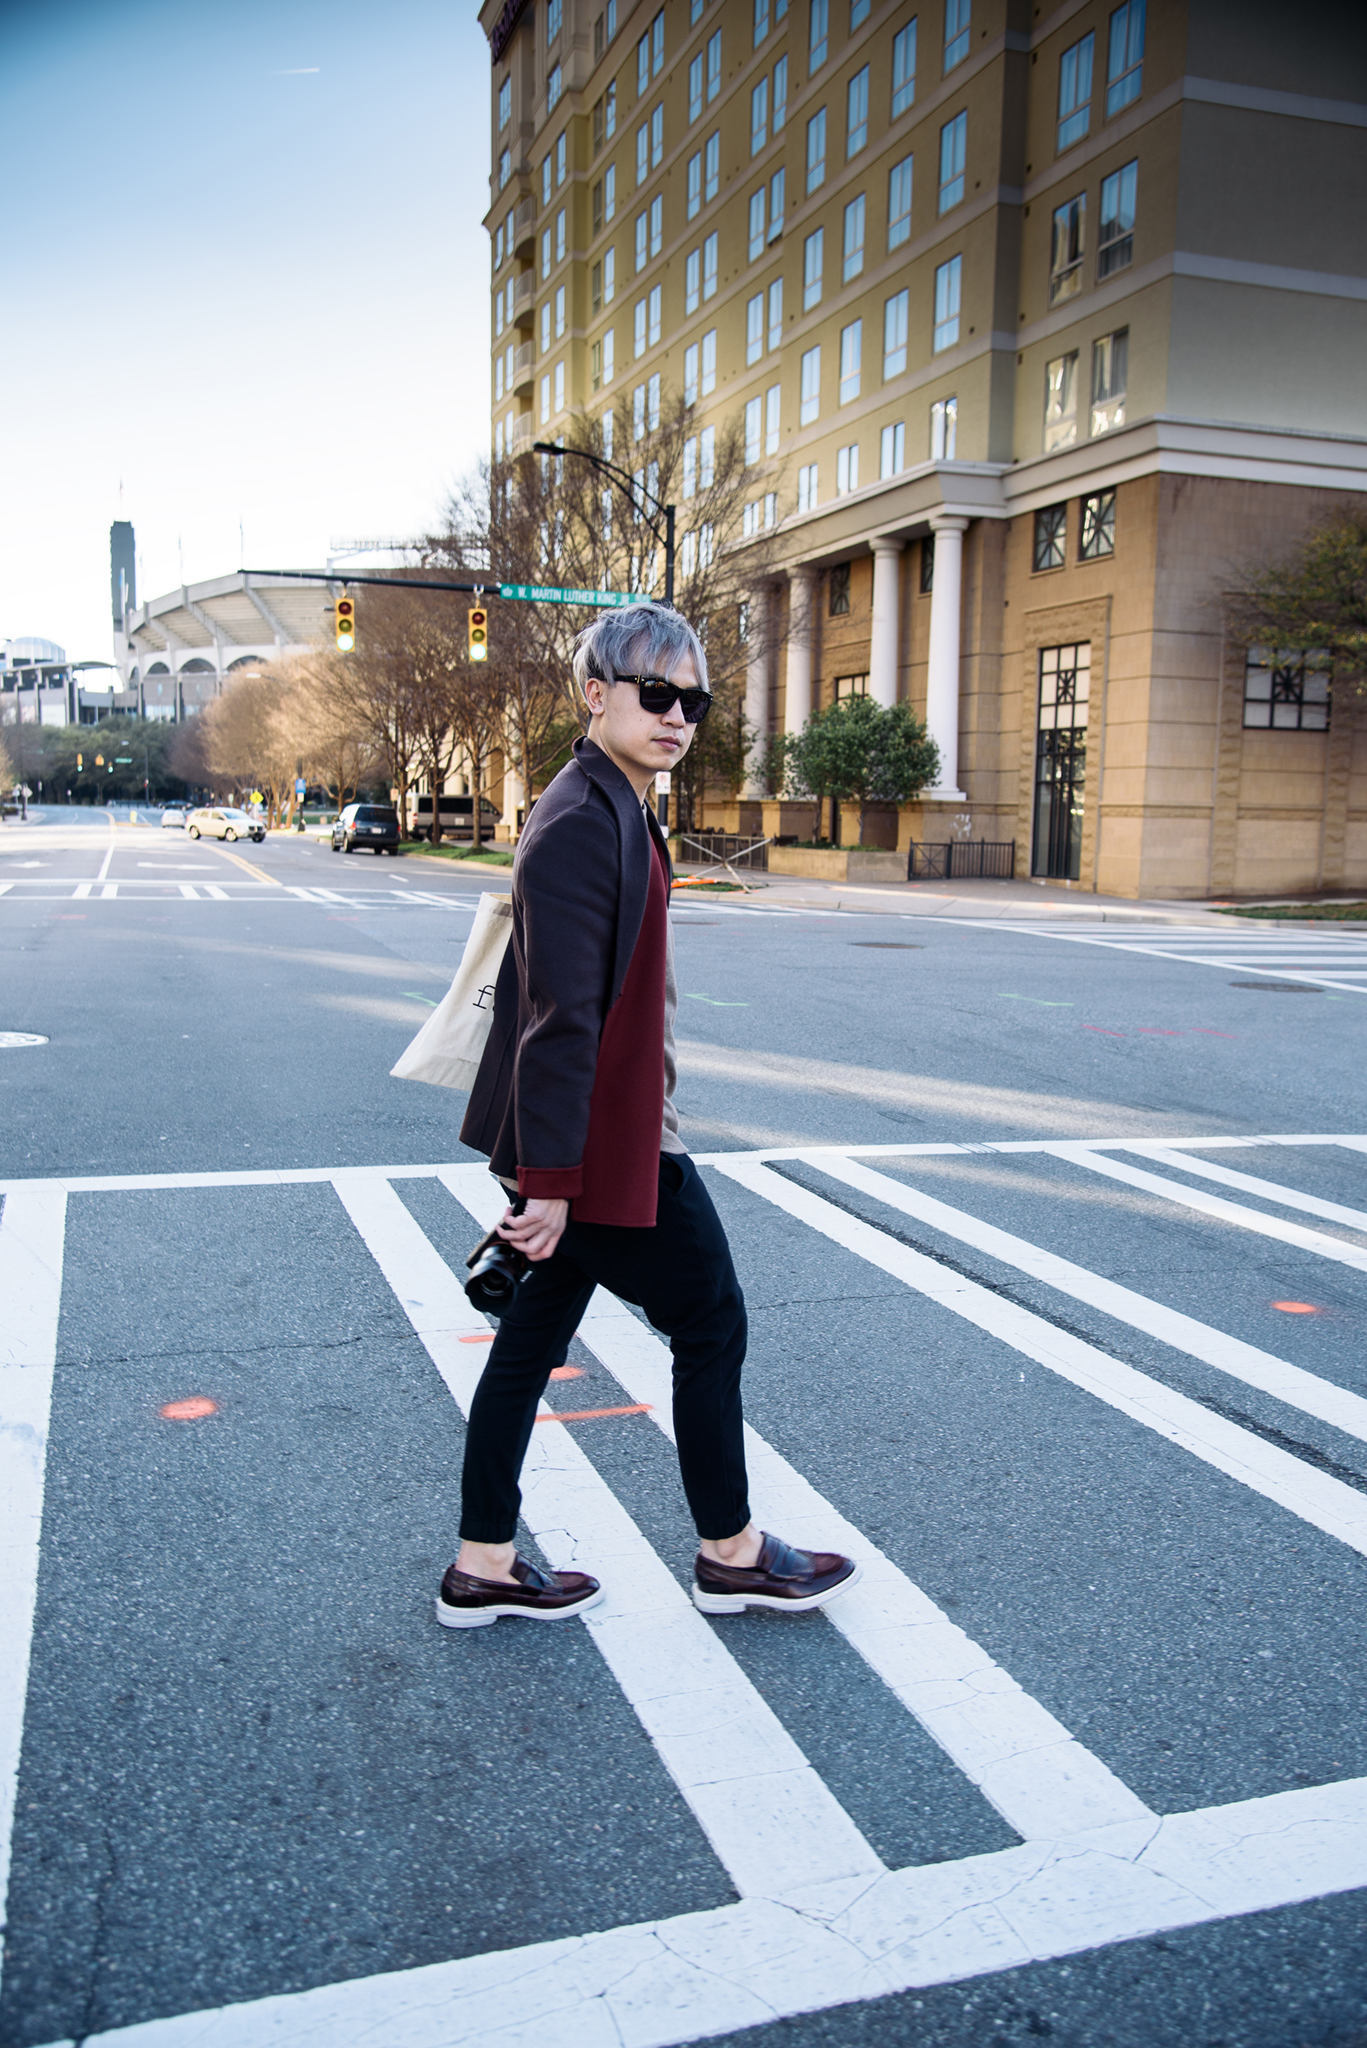
Shooting movement can be hard especially when there’s not enough light. Don’t let your shutter speed drop under 1/200 if you can. And if you can’t, up the ISO to compensate. Digital cameras these days have amazing ISO performance so 400 ISO isn’t going to do a grainy damage. Also, once you lock focus, move with your subject at their pace (see image below left). I was walking parallel to Sean and at the same rate he was moving.
#3 DETAILS
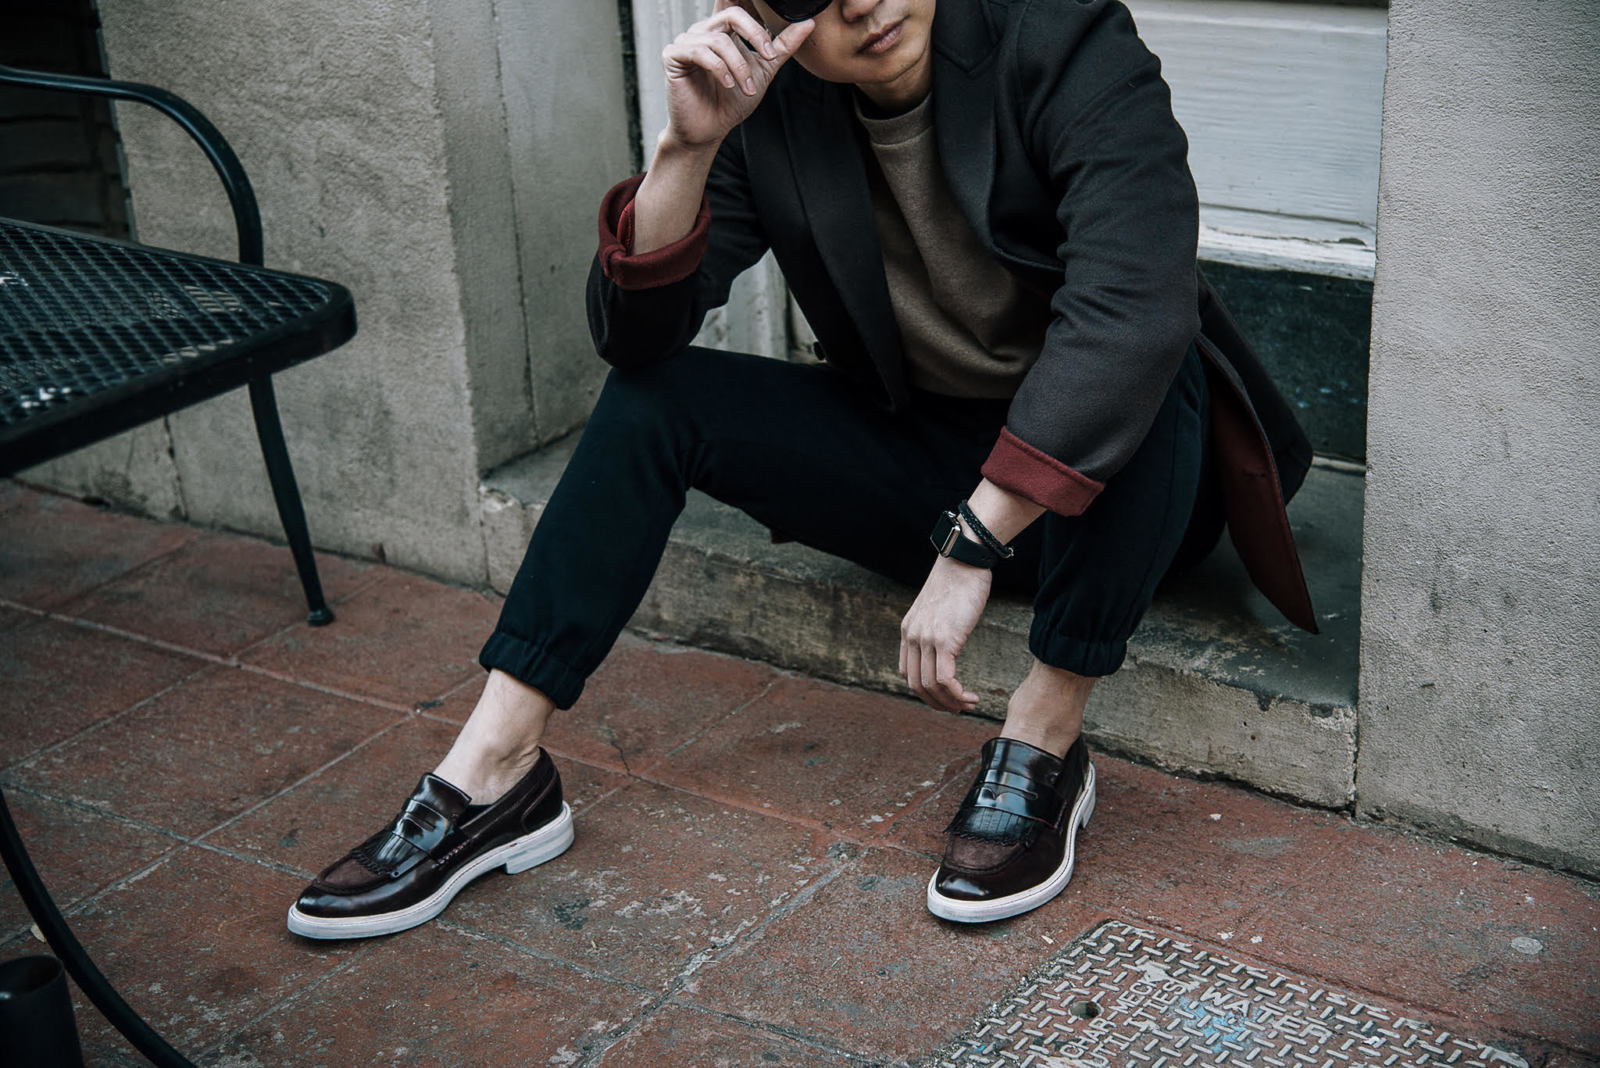
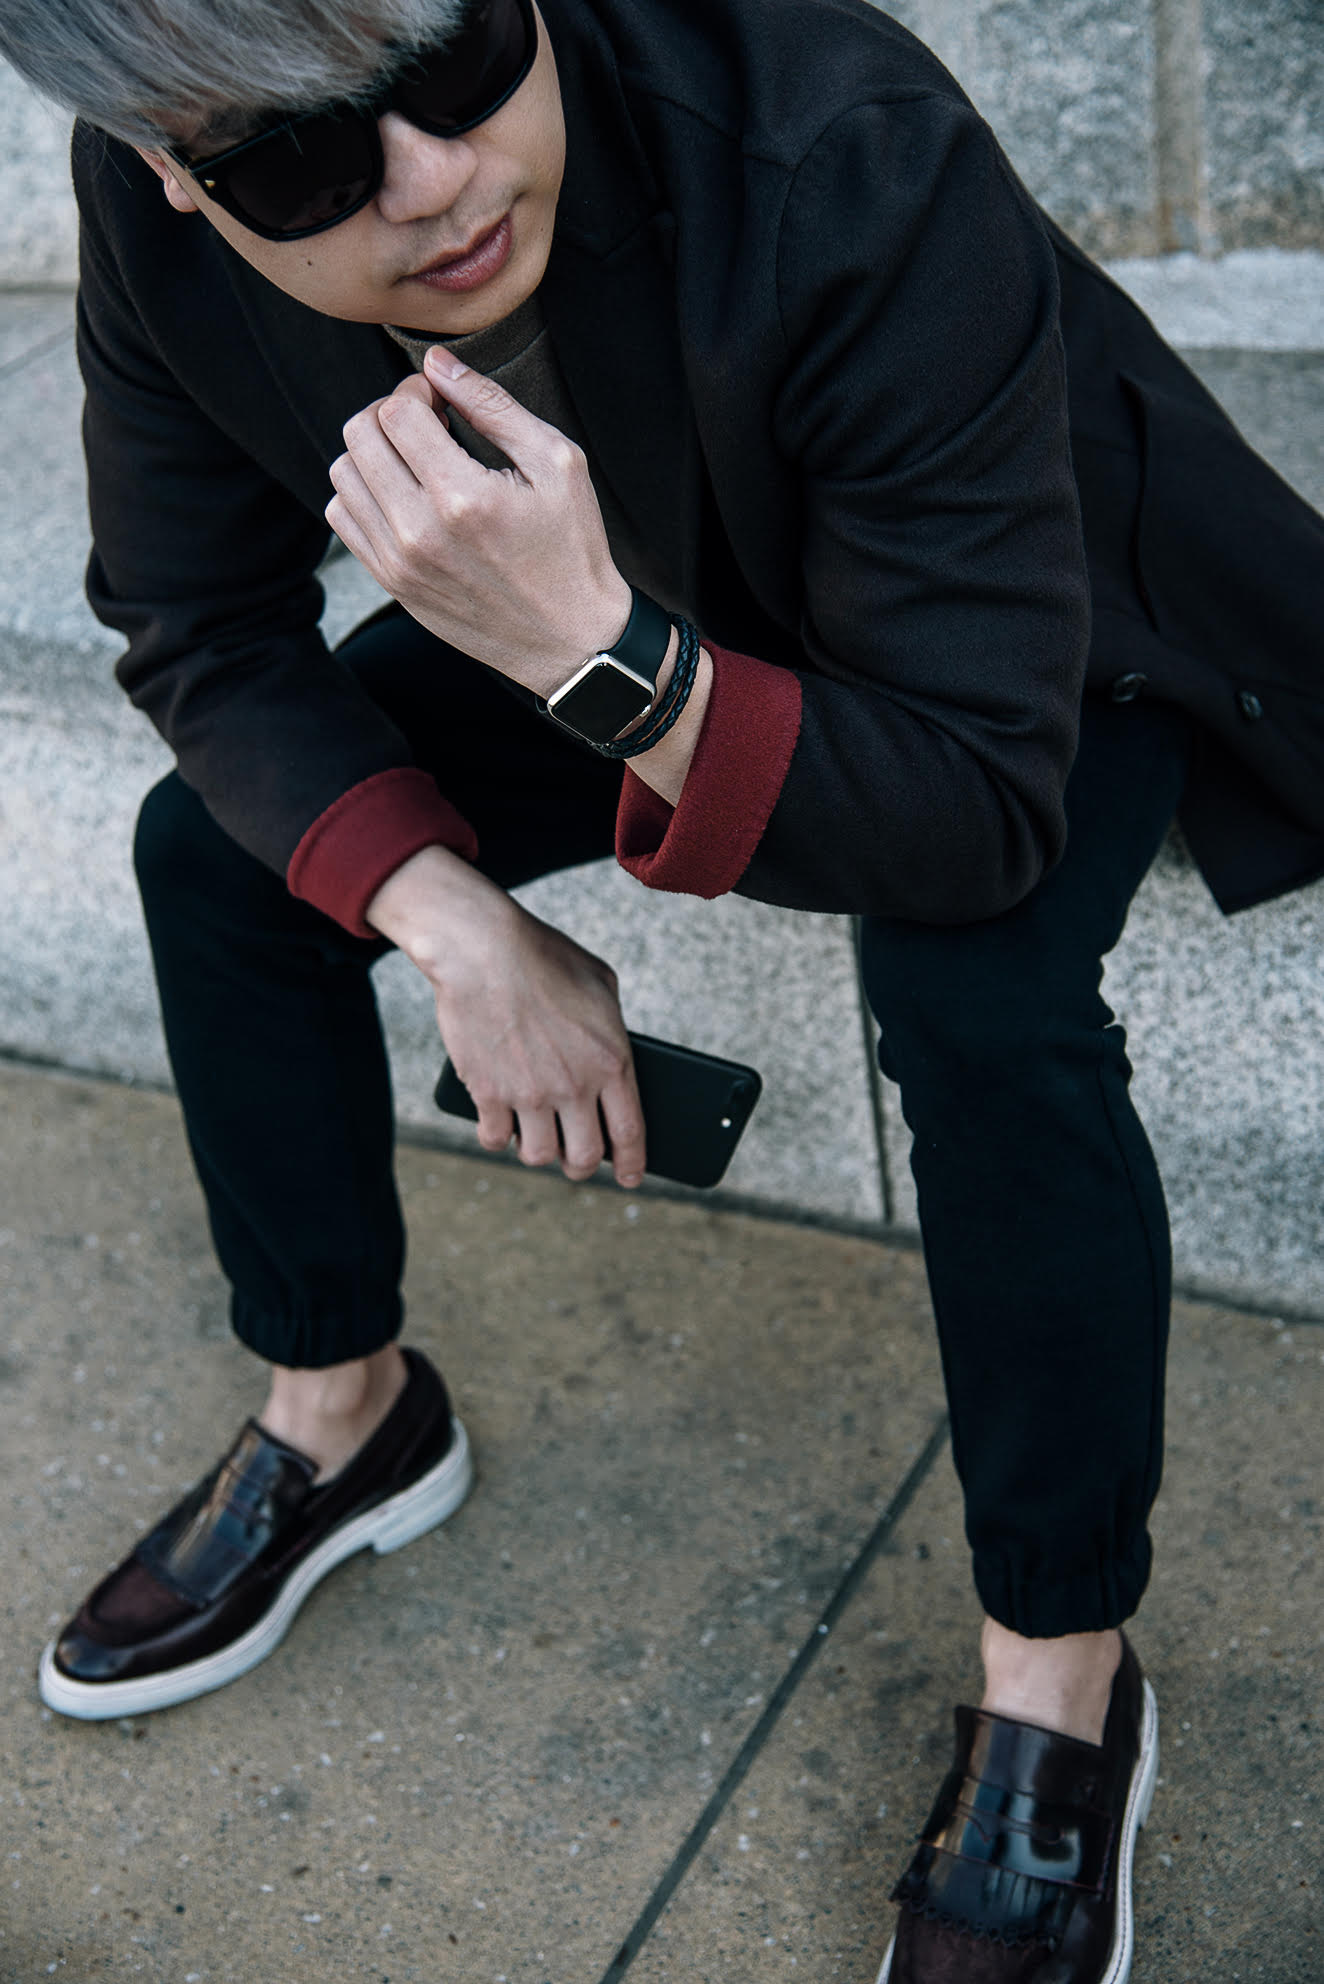
Don’t forget the details. Cropping a tight shot can look bad especially if you cut someone off right at the joints. Also, watch for negative space, crooked lines and horizons… You have to think, is something undesirable filling too much of the frame? Pick your lens carefully if you have a few to choose from. Anything over 85mm will give you great compression, 50mm for realistic human-eye perspective, and 35mm and lower will allow you to distort and exaggerate the situation.
#4 SHOOT A LOT
I took 170 photos of Sean and only narrowed them down to these 6 shots to share and publish. Zanita has taught me that your set of images is only as strong as the weakest one. That means shoot a lot and pick carefully. I know she sometimes shoots 1700 images and only picks 7. Build the stamina to keep shooting even when you’re exhausted and the shoot starts to feel boring. Move to a new location, test new light, or put on a new lens.
#5 COLORING
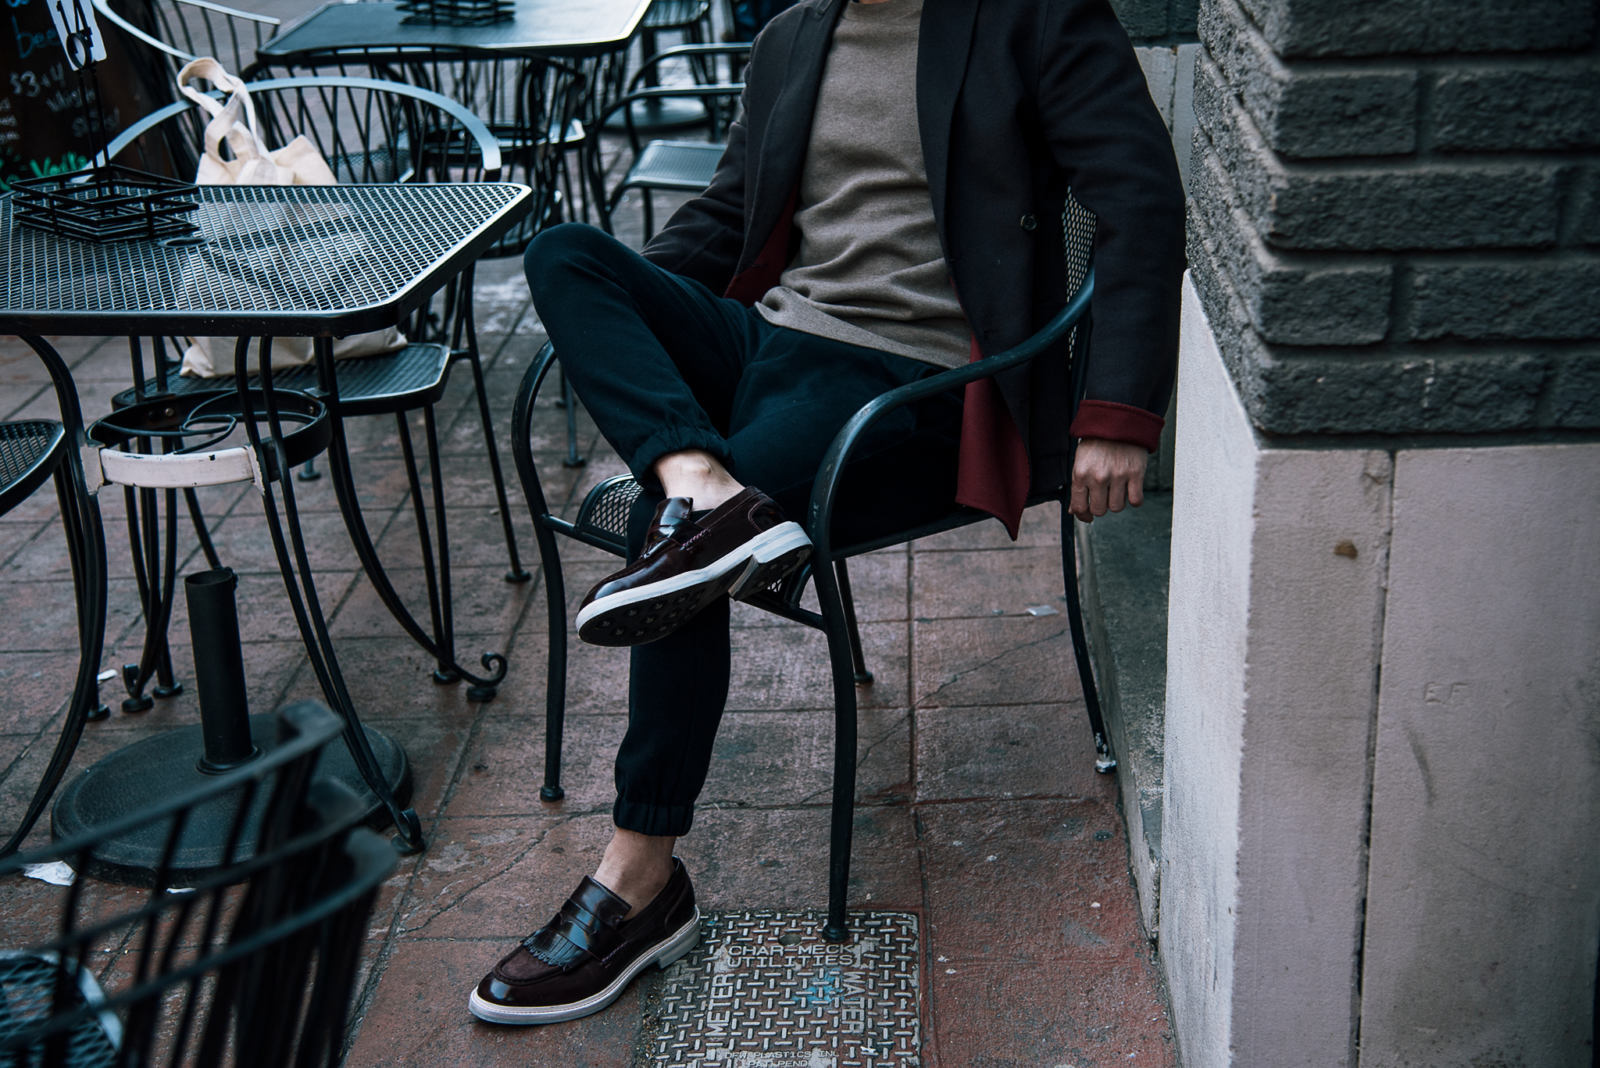
I still love color grading and I’m becoming more and more pleased with my post-processing work. Pick colors that suit the mood you’re going for. I could have made these images a lot warmer, but it wasn’t fitting for the urban, city vibe we had going. I added blue and magenta tones to the shadows while aiming to keep the skin tones as natural as possible.
Overall, I was pleased with these shots! Would love to hear your thoughts & questions!

