One question I’m often asked is how I take my self-portraits – specifically how I get myself so sharp…
I don’t consider my self-portraits spectacular by any means, but I have been self-shooting since 2013 – probably 90% of the photos you see of me are self-shot – which means I’ve come quite a long way. For the longest time, I was on the quest to take the best possible photos of myself for my blog mainly because I didn’t have a photographer, and when I had friends/family shoot me, I often times didn’t like the result. I mentioned before that the photographer-model relationship can be peculiar, and this holds even truer when the subject knows a bit about photography (i.e. me) – I’ve become quite fastidious.
So, to answer your questions, I thought it’d be fun to go down memory lane and take a look at how I started in photography, and then offer some tips along the way…
HERE’S WHAT YOU NEED:
A camera that can shoot in RAW
A Tripod
A Wireless Trigger – I use this in 2 sec delay mode
Some people thrive on the self-timer, so go for that if you’d like, but I’ve never had success with it – perhaps I’m not as talented, which is just proof that practice can sometimes trump talent.
HOW TO FOCUS:
Face detection – This is my most-used method because it’s the fastest and easiest. The only issue is, you can’t expect to nail tack sharp focus in every shot. Basically, put the camera in live view and select face detection as the focus mode.
Manual focus – Place an object in your position (like a broom stick), manually focus your camera on that item, and then stand in place of it – snap snap.
In 2013, I began shooting self-portraits on a Nikon D5100, which was simple because the LCD screen could flip out and I could frame myself properly before taking a photo. You can tell that my skills were less than amateur with the blown out highlights, fuzzy focus, and super saturated tones, but that didn’t stop me from practicing!
KEY LESSONS: It’s better to underexpose than overexpose an image. Make focusing a priority and don’t worry so much about editing… A bad photo can’t be edited to become “good” anyway. And of course, master your camera settings!
When I upgraded to my Nikon D610 in 2014, I lost that LCD functionality and self-portraits became more challenging! I was forced to mark my position on the wall or floor with tape, pre-frame the shot, and then go stand in position and trigger away. It was always hit or miss, but I had no other option. I also learned new editing techniques, which I put to the test… At times I probably over edited, appearing plastic or extremely crisp. This was the year I became ultra obsessed with photography spending nights and weekends practicing and researching the craft. Photographers like Zanita, Anastasia Volkova, and Julia Kuzmenko were huge inspirations and motivations at the time.
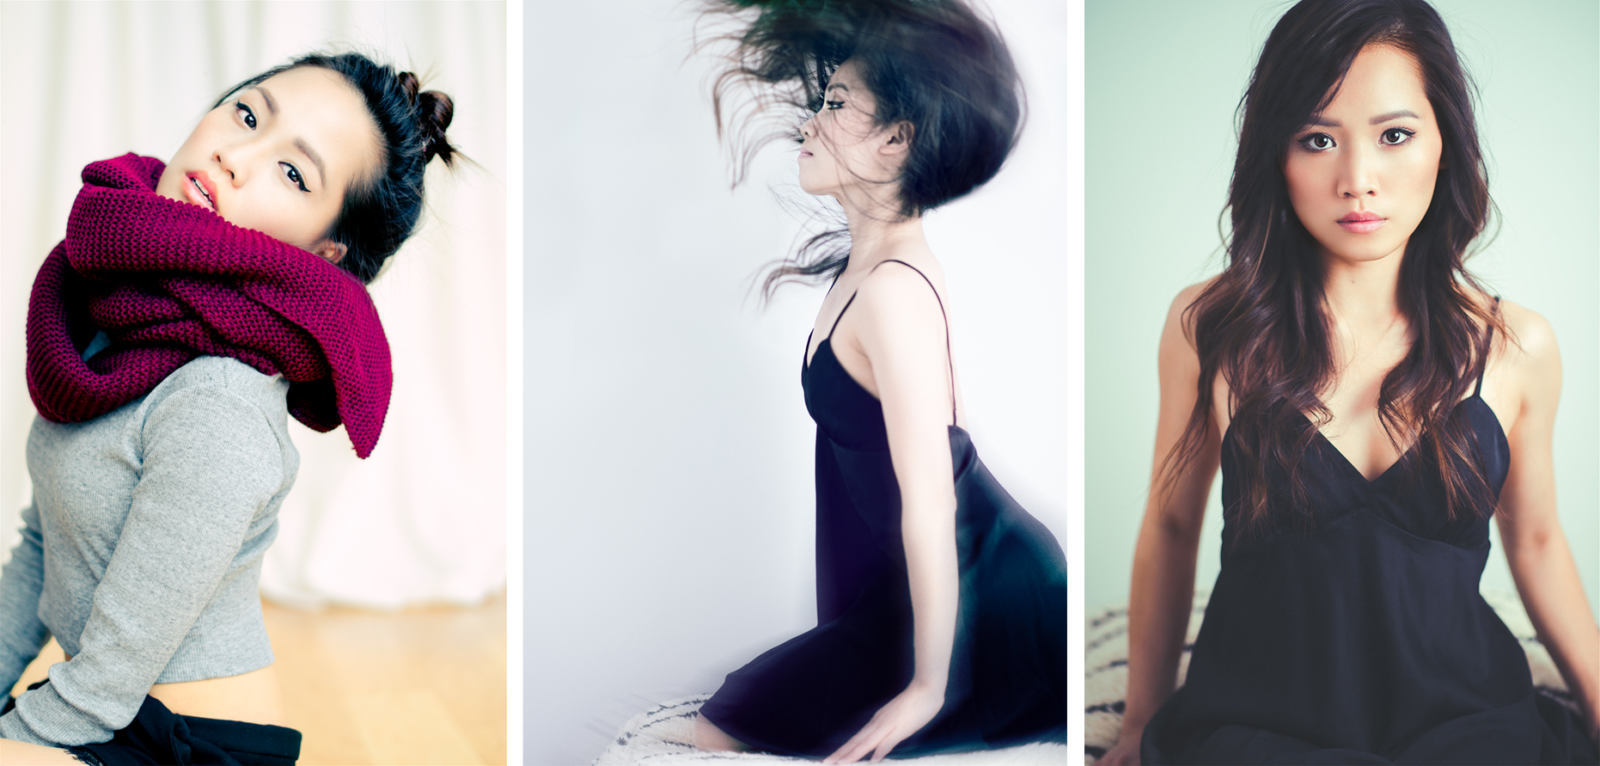
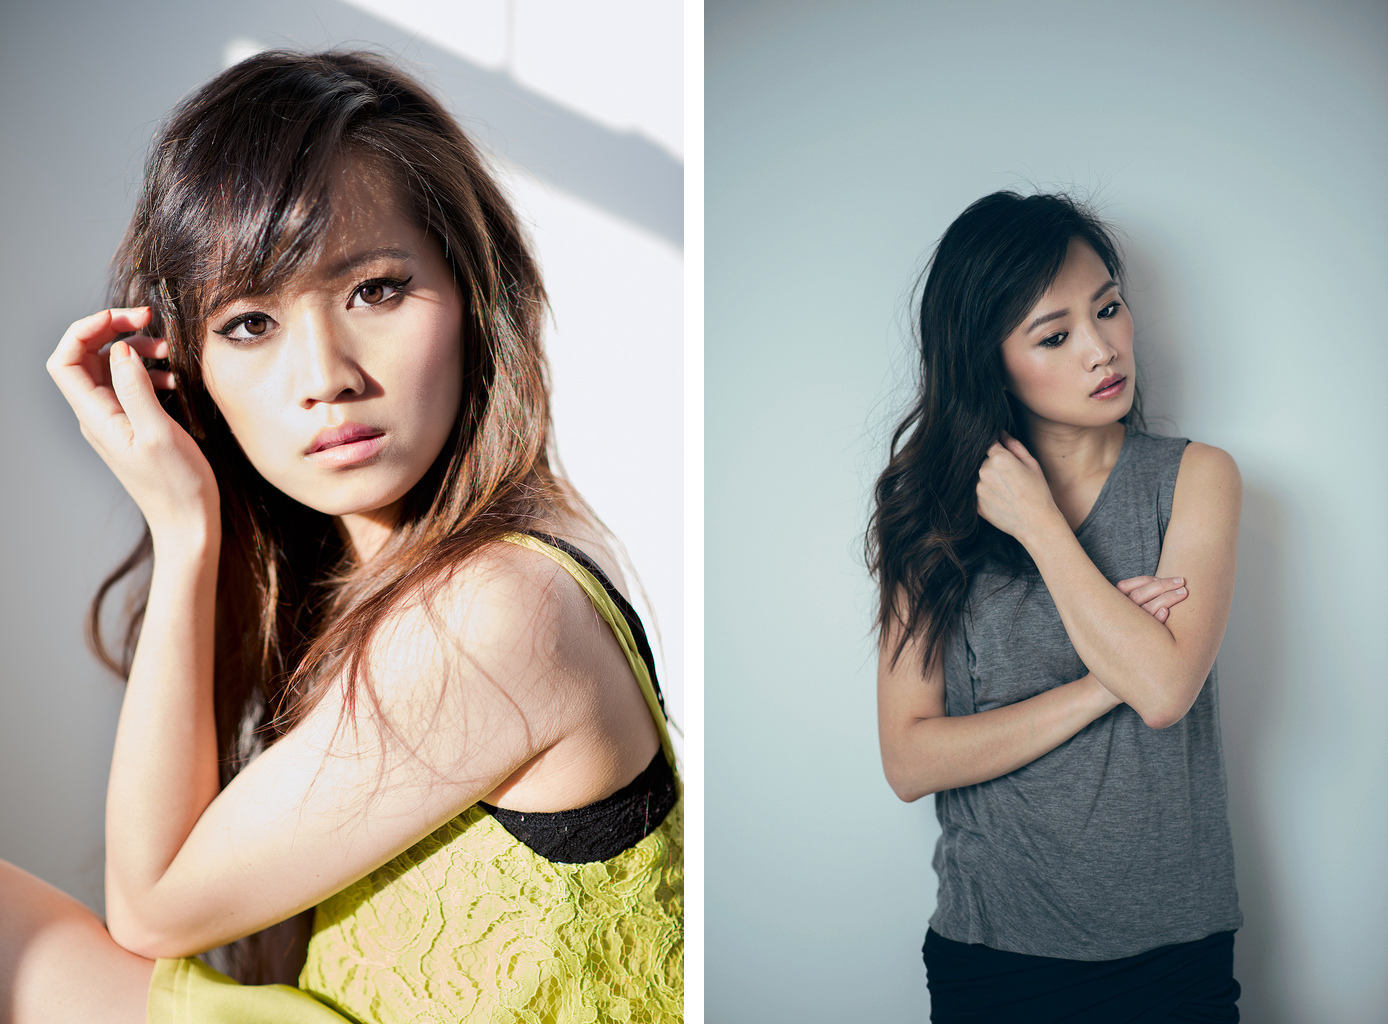
I started to finally get a feel for my style by July/August 2014… I stopped over editing, manipulating colors, and began to experiment with light.
KEY TAKEAWAYS: Just as we do in life, everyone has their own journey in photography. Some learn faster than others… I was one of the slower ones in the art of photos, but if you’re resourceful, practicing, and re-evaluating, you’re bound to improve. Watch for intense coloring because it never translates well in the final product (IMO).
And by 2015, I got pretty comfortable with where I was in photography to the point where I basically stopped learning (very bad move by the way). My images weren’t bad, but I was no longer learning or extending my boundaries. I was also becoming inundated with personal problems so perhaps that was part of the reason. But the main lessons I learned up to this point were make tack sharp images priority, less is more when it comes to retouching and coloring, and if you don’t keep practicing, you’ll never get better.
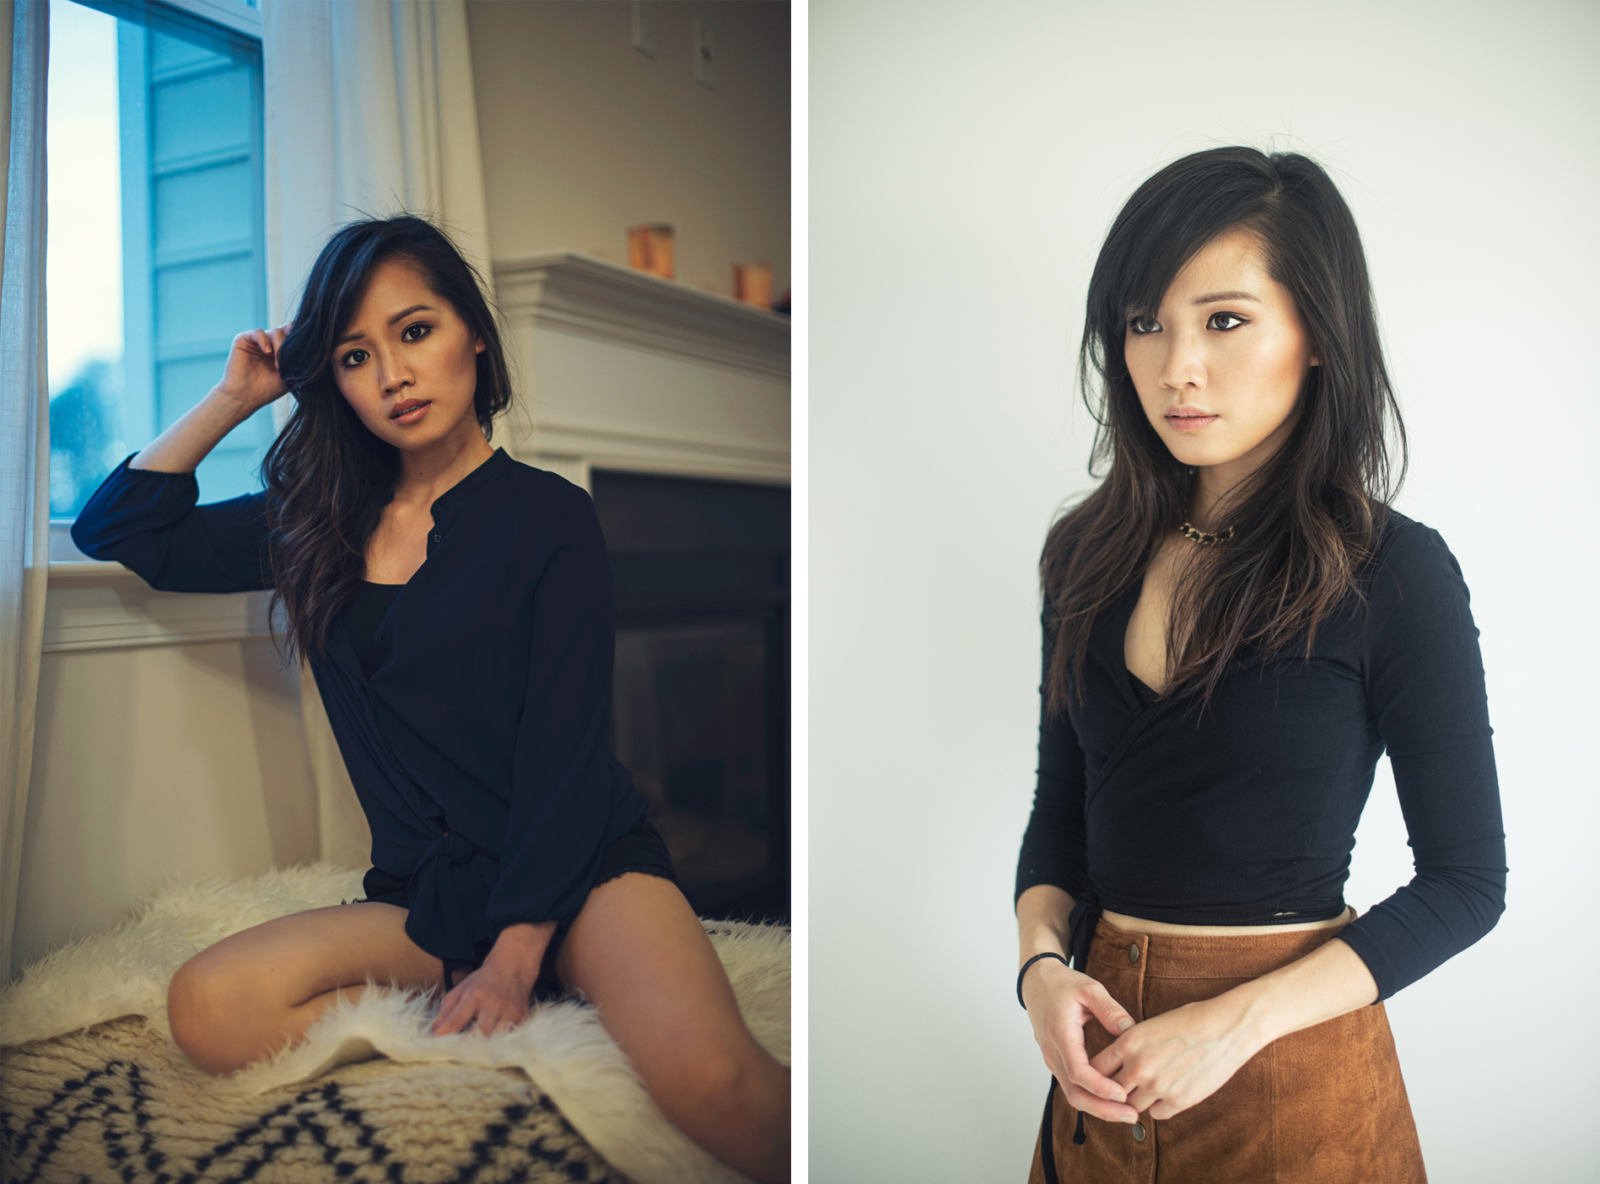
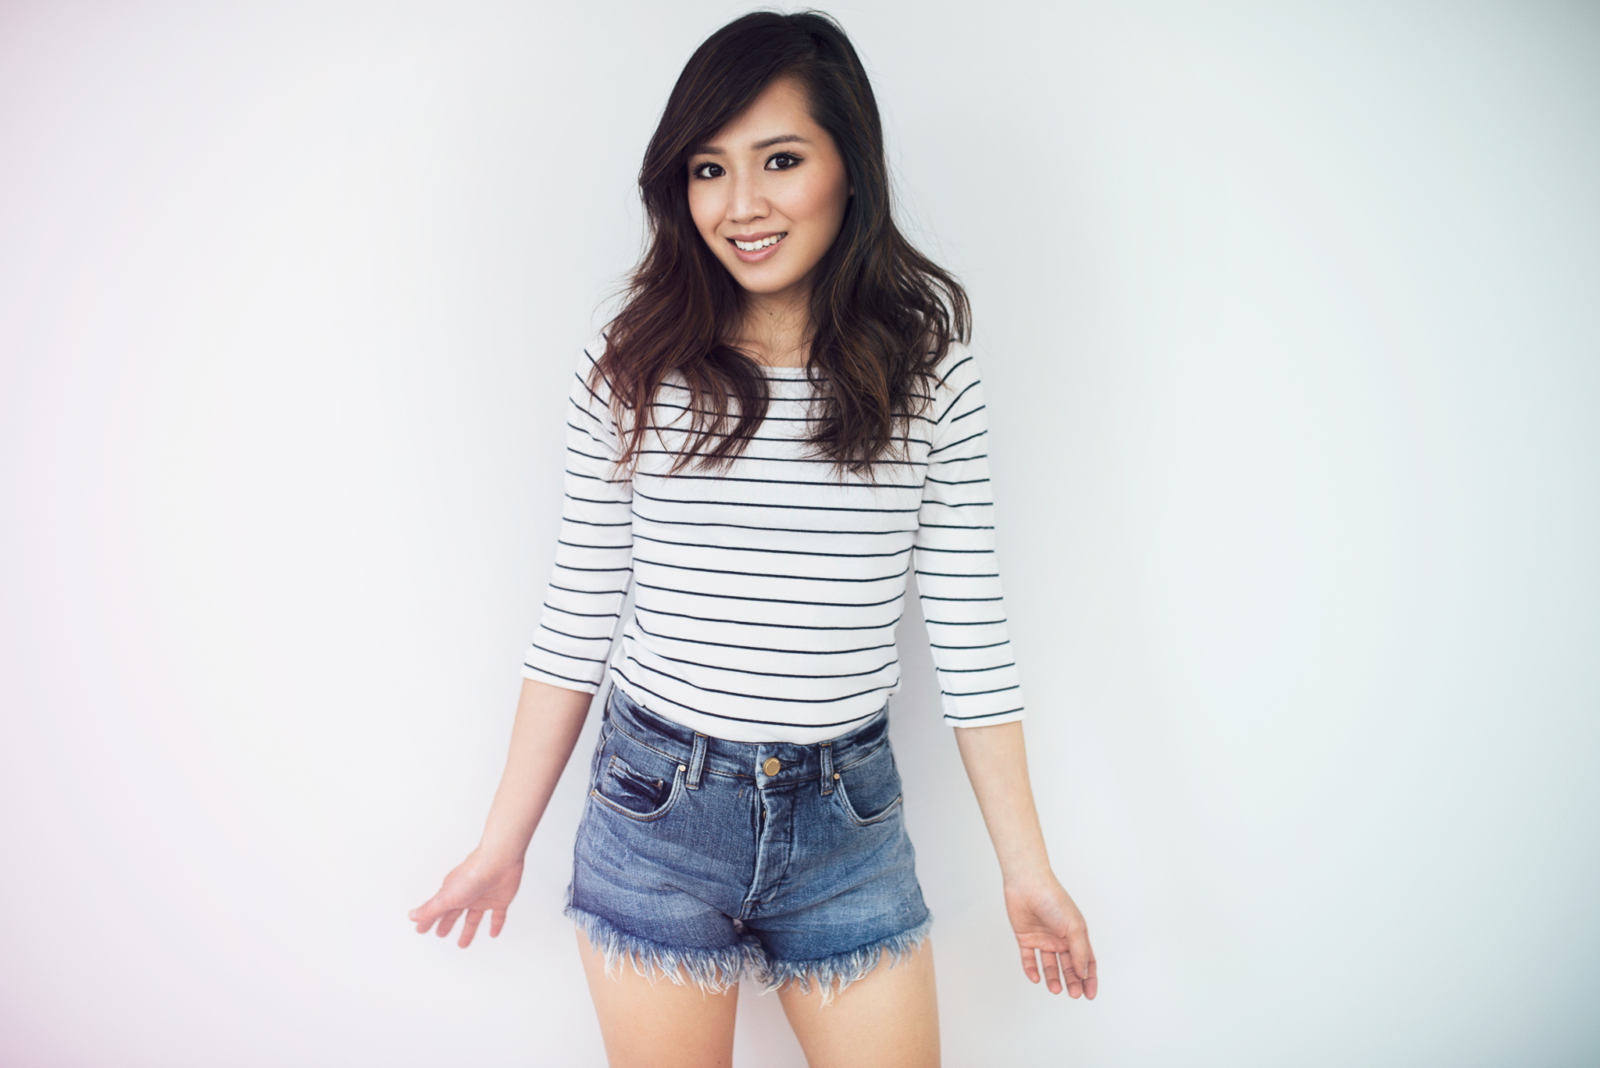
KEY TAKEAWAYS: Never stop practicing. Never stop staying inspired. If you find yourself in this plight, look for new mediums, scout new photographers, and keep looking at beautiful work! Photoshop doesn’t make an image…a photographer does!
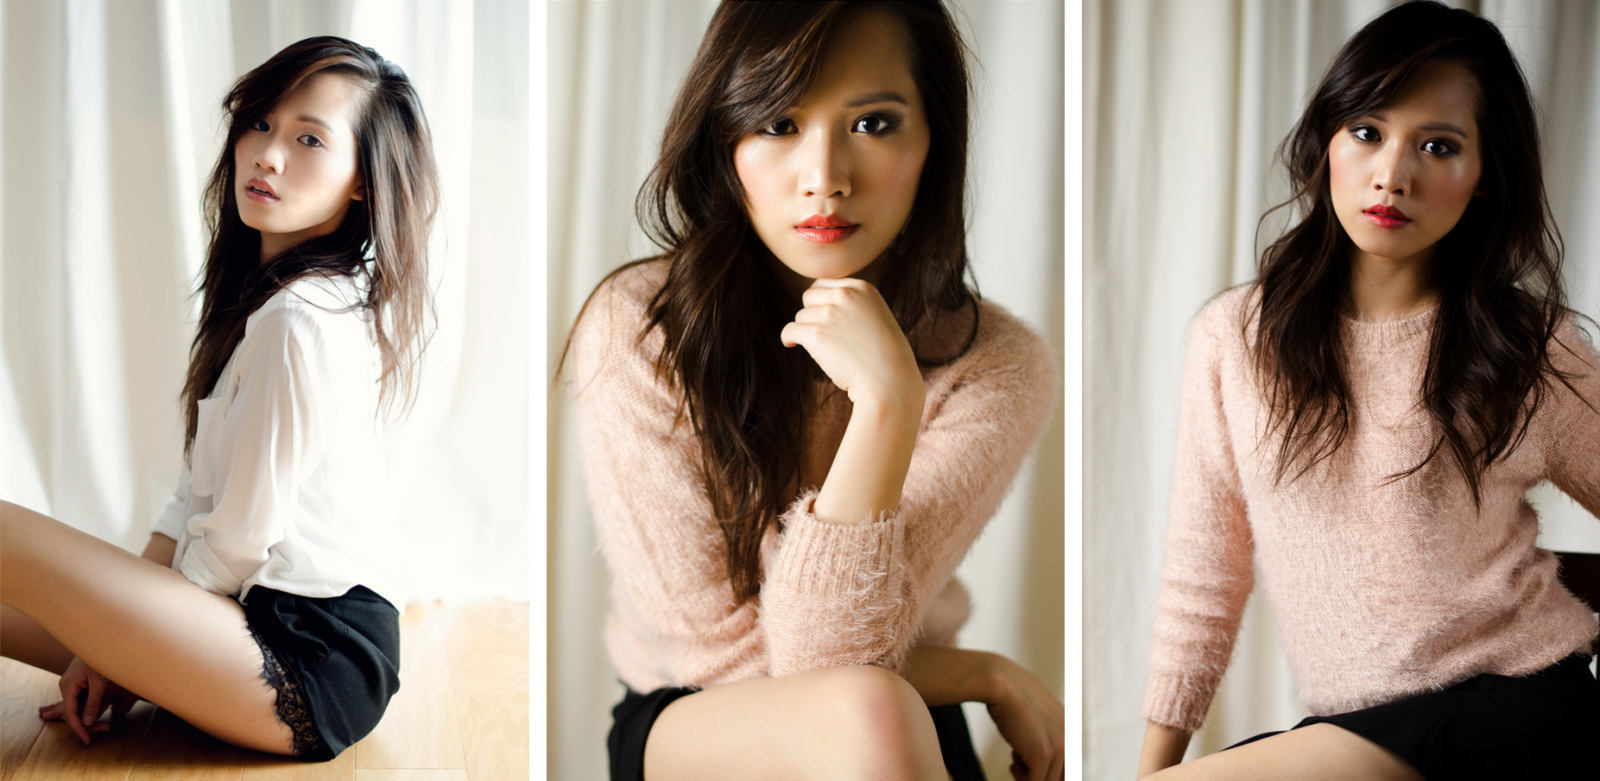
Towards the end of 2015, I became a part of the blogging industry, running content for Zanita Studio, and Zanita began to challenge my photography… PR reps were also sending me beauty products, which meant I had to step it up in 2016 and raise the bar even more! As a result, I started pushing myself especially in self-portraits and flatlays. Although I still didn’t take a ton of pictures last year (2016), you can see how much more refined my eye became especially when it came to color grading.
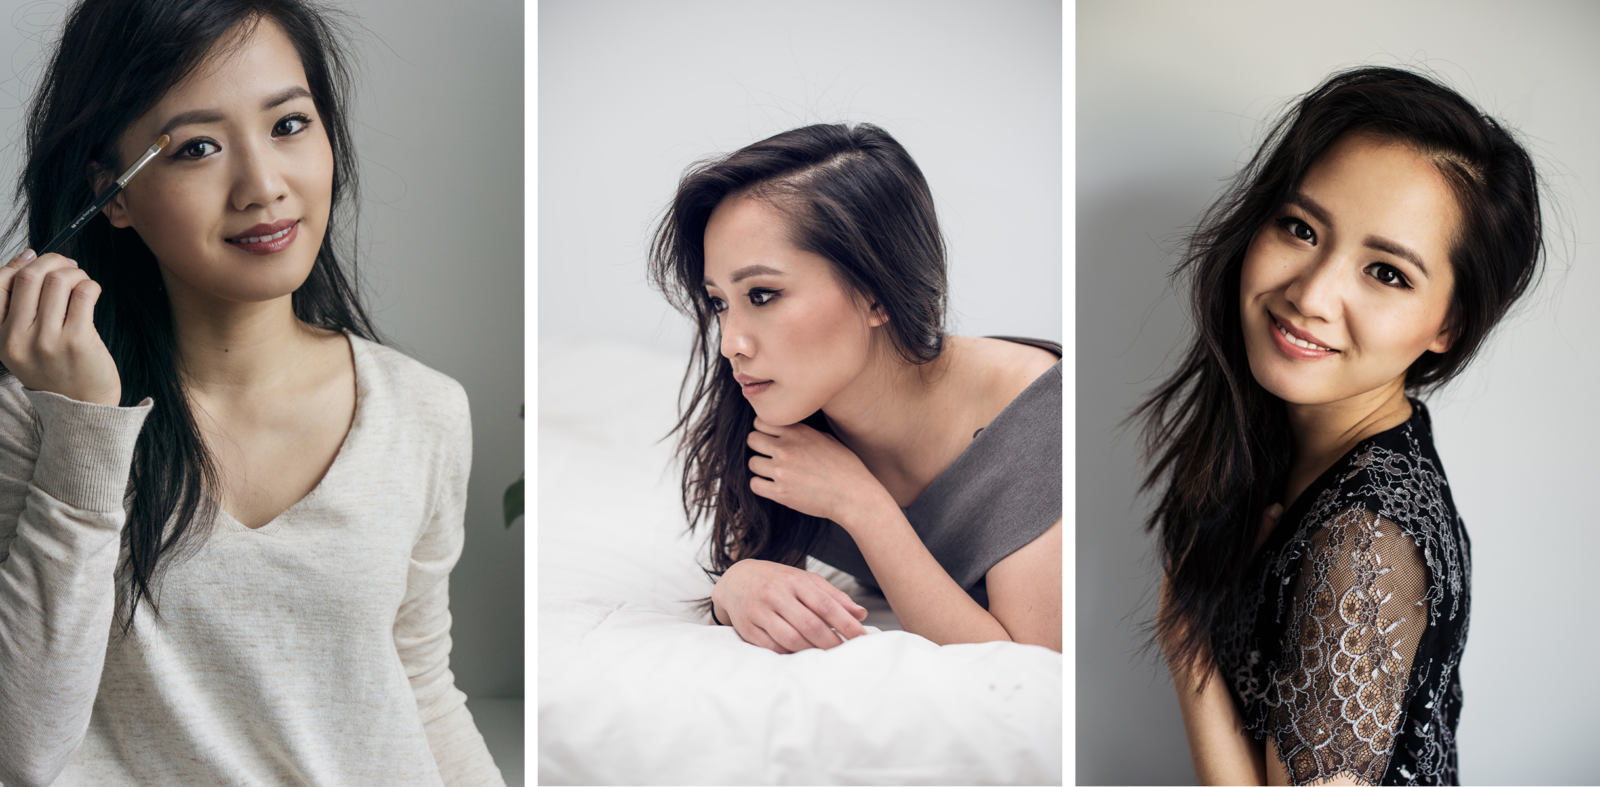
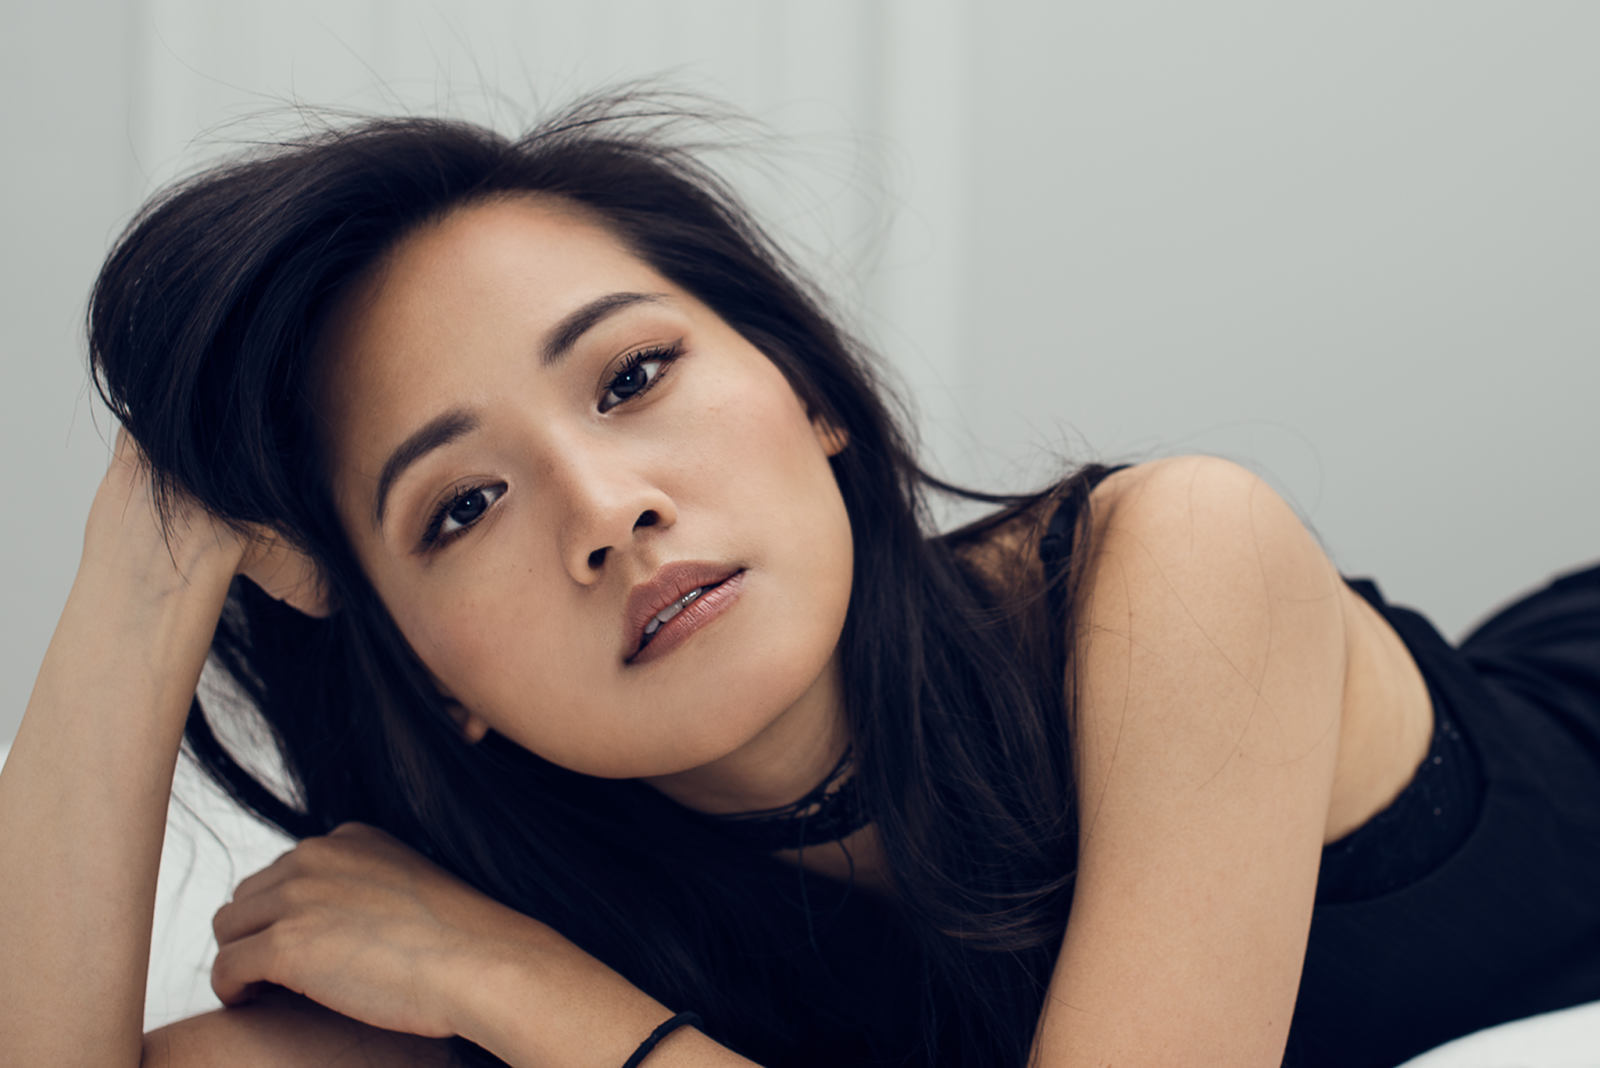
KEY TAKEAWAY: Always work as though you’re responsible for a major project for your dream client. If your dream is to work with brands like Dior and Chanel, create work as if they were your client.
And then just a few months ago, I realized how disappointed I was becoming with the D610’s performance in low light so I upgraded to the Nikon D750 with a 24-120 f/4. It’s been a tremendous move because this camera allows you to use your iPhone as a wireless trigger. That means I can now see how I’ll look on camera in my phone and correct the framing before clicking away. New tools mean newfound inspiration and motivation to shoot 😉 I’m looking forward to pressing the shutter so much more in 2017!
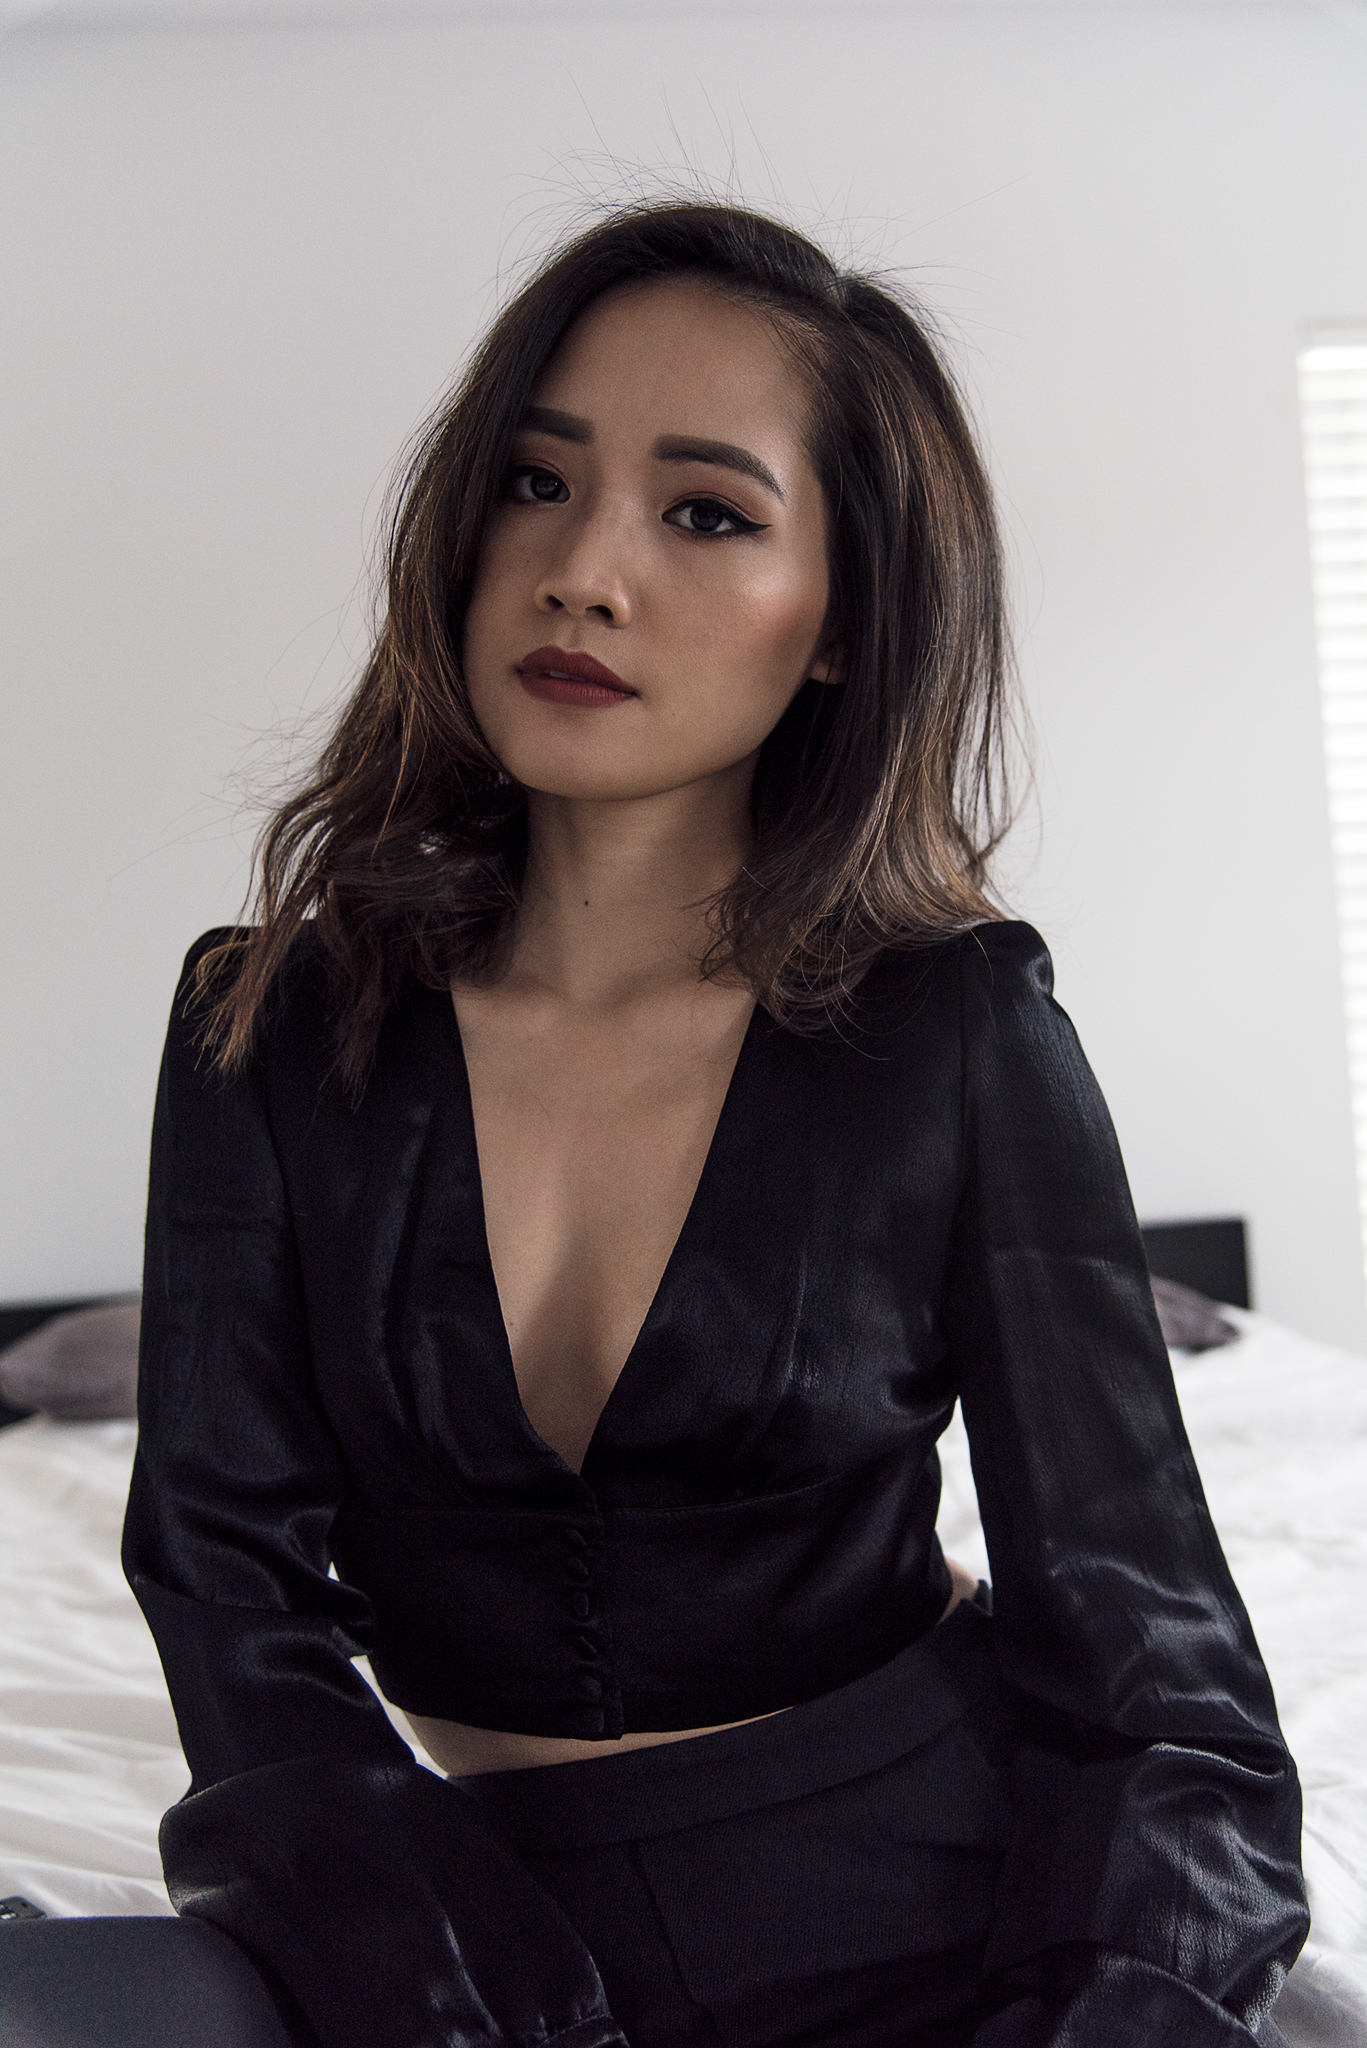
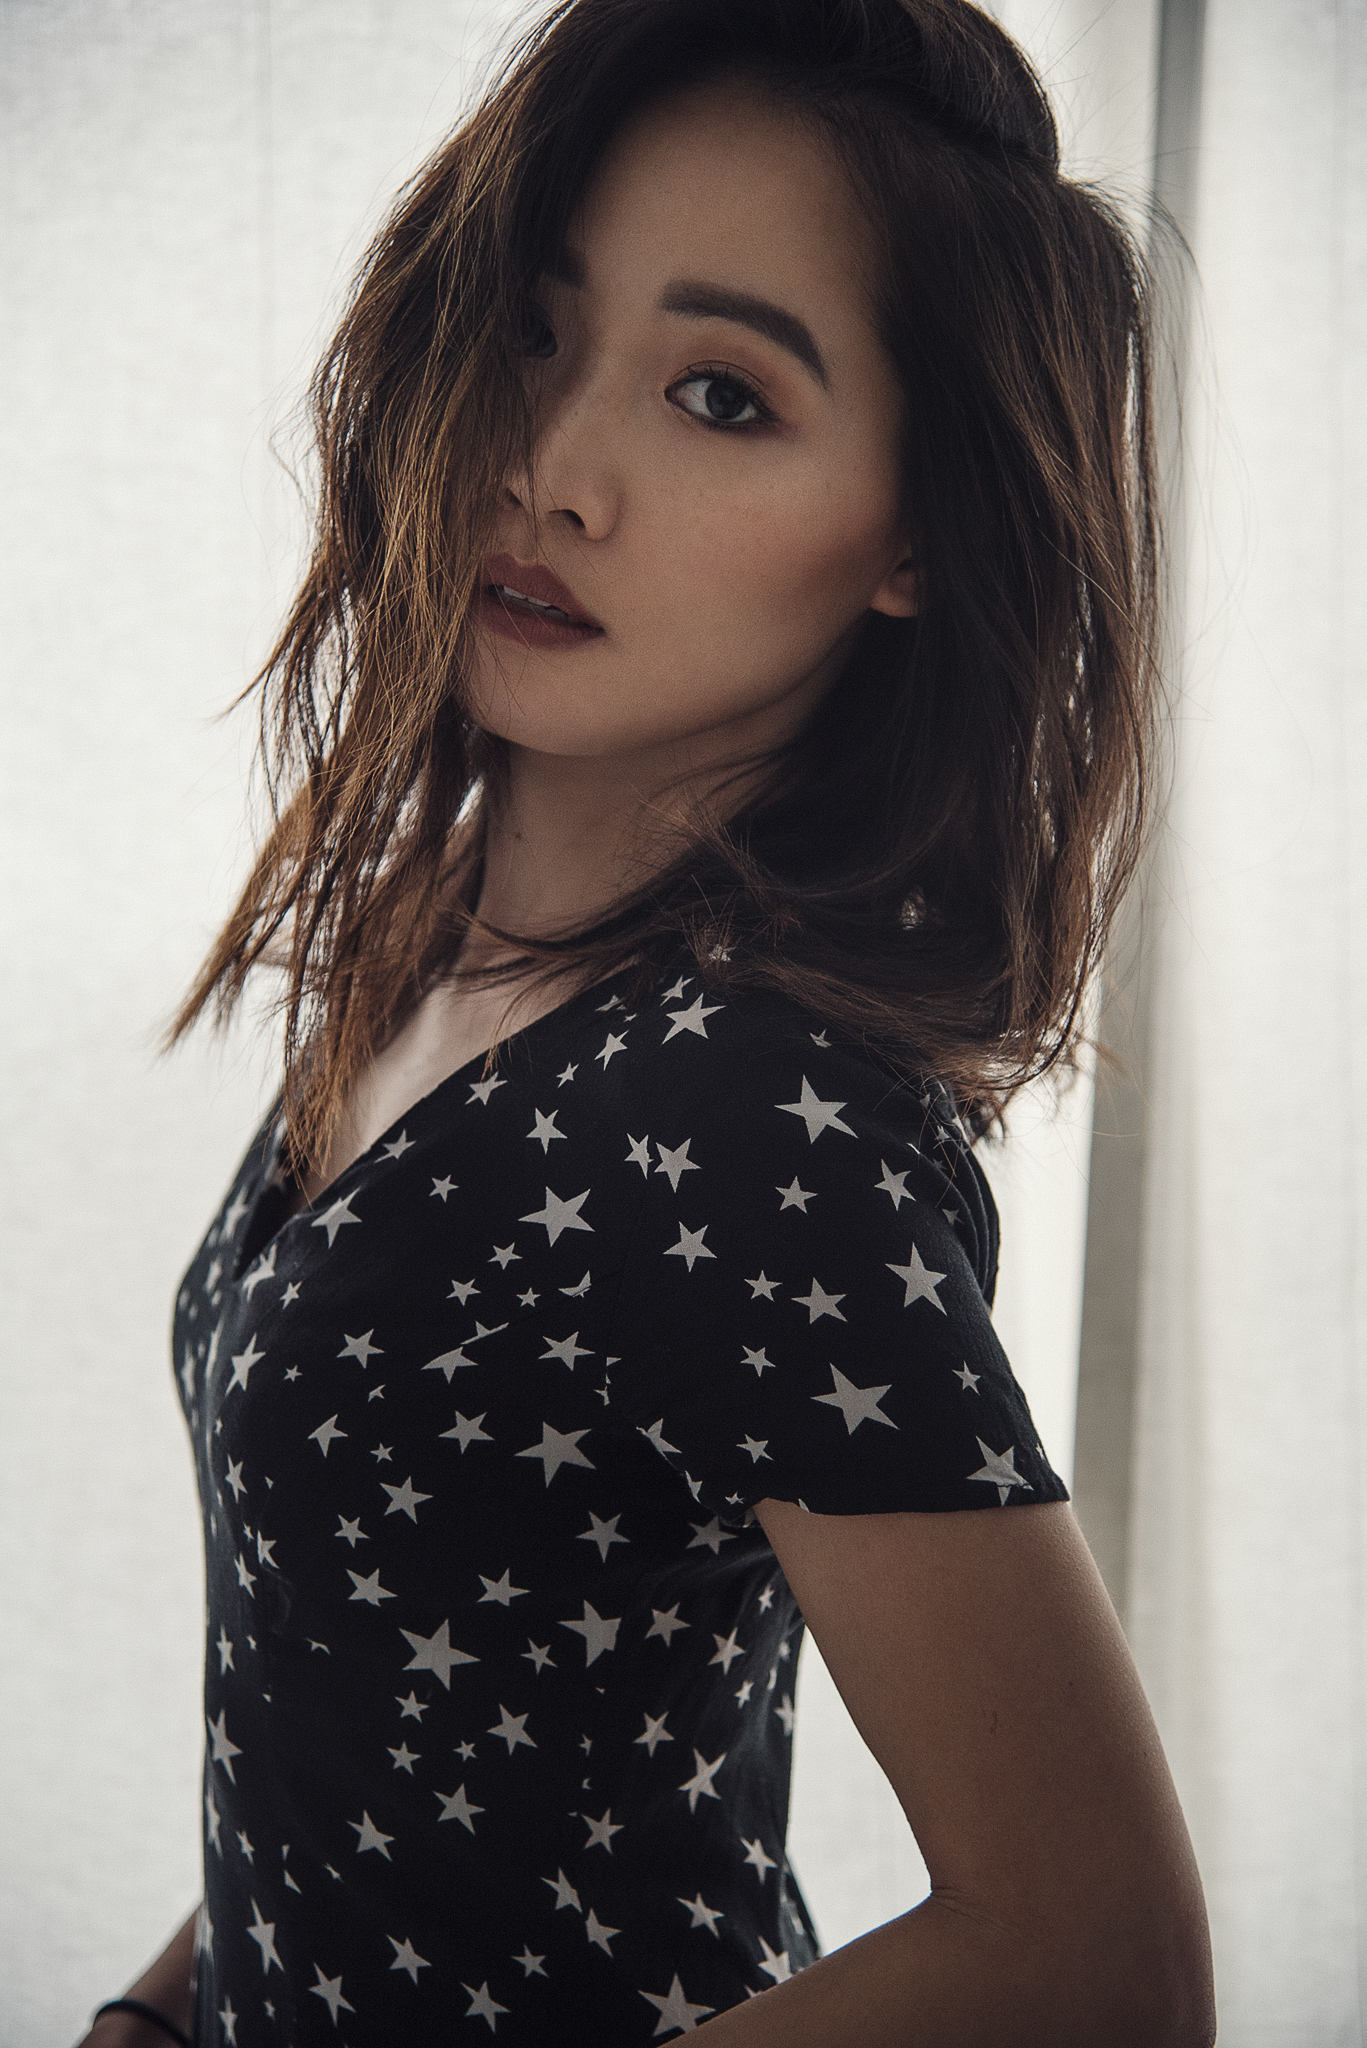
KEY TAKEAWAY: Don’t upgrade just because some big shot photographer is using a certain camera + lens combo. Upgrade when you understand the limitations of your camera and have mastered what you currently own.
You may have found this post to be SUPER basic, and that’s because taking a basic self-portrait is simply basic.
There are only two main factors to be concerned about in self-portraiture: 1. Focus, and 2. Framing. Once you understand and master these two aspects, which take TONS of time and practice, you can undertake a more creative and conceptual approach. Some of you may look at my work and think I had training and help along the way, but truth is, photography became an obsession because I was so horrible at the craft. I had no photographer friends or associations at the time and Google was my best friend for everything. Looking back at my journey now is pretty comical and embarrassing – and my archive is brimming with awkward images – but they’re mere proof that anyone can take on the art if they have the desire to learn.
